• Published on

    We made the farm tour!

    This week, U.S. Representative Jim McGovern hosted the 7th Annual Agricultural Tour to meet with farmers, agricultural producers, non-profit farming organizations and community development corporations in Central and Western Massachusetts to highlight the success of our region’s agricultural industry, its role in growing the local economy and addressing issues in farming. 

    I am so thankful Bardwell Farm was chosen as one of the stops on the tour. It was amazing really, the congressman spoke directly to me, listened to my story and the battles that beginner farmers go through on a daily basis. Even though I was blessed with land and equipment, farmers who are just starting out struggle to purchase and maintain those things. Also, if you take into consideration how young farmers have to somehow break into wholesale and retail markets, it's really-really tough. My hope was to bring some kind of awareness to all of this. We farmers have to stick together, we are a dying breed.
    Picture
    The tour started with a brief introduction and a surprise. What I thought was going to be the congressman and a couple of staff turned into 20, including folks from the USDACISANRCS, support staff, local businesses and farmers, and several media organizations. I talked about the history of Bardwell Farm, what inspired me to go into farming and why I love it so much.
    After we walked one of our fields and I explained why we like to grow smaller settings of a variety of fruits and vegetables instead of just one really large crop. I also talked about the importance of timing settings so our farmstand stays stocked all season with plenty of product.

    We moved onto education and farming, collaboration between farmers, farmers helping farmers, and marketing with social media and competing in the digital marketplace.

    I expressed the desire to expand my operation and the congressman and his staff brought many ideas to the table including grants to help with solar energy, greenhouses and the possibility of opening a farm store.
    The tour ended at the farmstand so we could show our finished product and hard work. We took a group photo and almost everyone purchased something. It was kind of funny, our regular customers were there too and wondered what was going on, it was awesome and I enjoyed every minute of it! 
    I want to thank U.S. Representative Jim McGovern for including Bardwell Farm in the tour. I also want to thank the congressman, his staff, the agencies and all the other folks who genuinely listened to everything I had to say and providing new ideas that would improve my operation.

    All-in-all it was such an amazing experience and I am very thankful and proud.
    A heartfelt thank you to my grandfather and mentor Cory Bardwell for teaching me to farm. I wish you were here today to see all of this.

    A huge thank you to all the farms who help me everyday, especially you Tony, your guidance and friendship is important to me.

    Thanks to Rick at Rocket Strategies for pushing me, creating a solid marketing plan and making me look good on the interwebs everyday... you're crazy.

    A special thank you to farmhand Kaitlyn for your friendship, support, hard work and always making everything just so. The stand looked beautiful today (all the while battling a bee sting). Farmers til' the end!

    Related:


    For more Homegrown News subscribe to my newsletter!

    Like or Tweet this article to a friend by clicking the badges below. Thank you for your support.
  • Published on

    Did You Know: Tomatoes

    It's tomato season and we're stocking multiple varieties of mixed grape, plums and classic rounds. Whether your making sandwiches, simmering sauce or just snacking, tomatoes are really good for you. Find out why our summertime favorite is so healthy!
    Picture

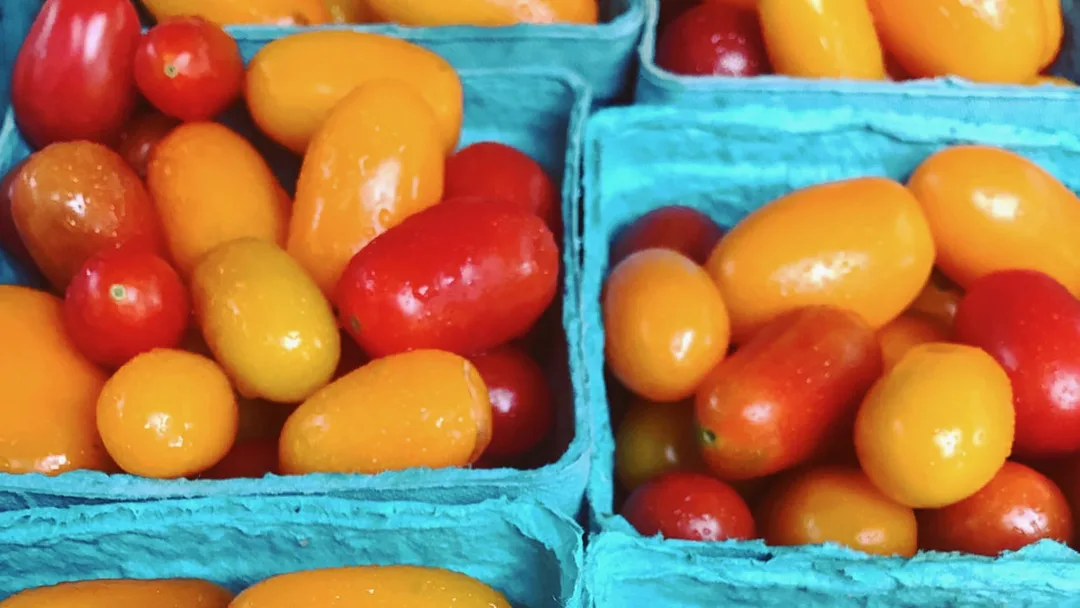
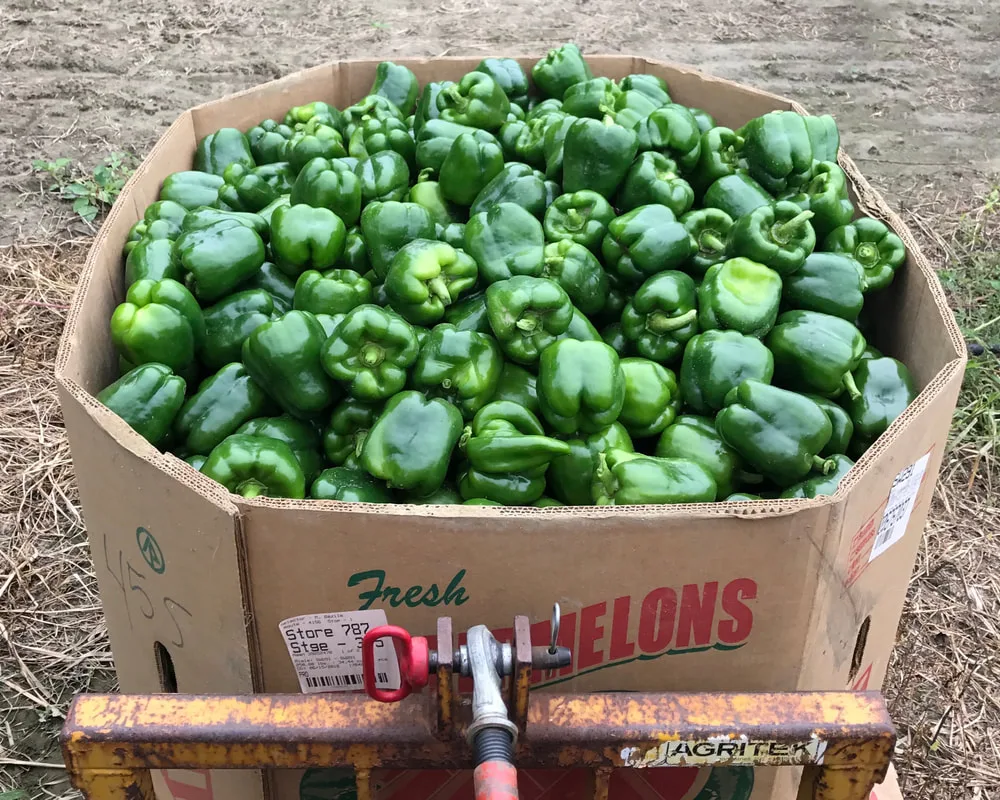
    Colorful Nova and Five-Star mix are sweet, perfect for roasting, salads and snacking

    The tomato is one of the healthiest salad foods because it contains lycopene, which offers protection from some cancers and compounds to help prevent blood clots.

    Tomatoes are a major source of dietary lycopene, a carotene antioxidant that fights heart disease and may help prevent cancer. Tomatoes also have a anticoagulant effect because of the salicylates contained in them. They also contain several other antioxidants including vitamin C, quercetin, lutein. Tomatoes are low in calories but high potassium and contain useful amounts of fiber.

    The Good Stuff:
    • excellent source of lycopene which helps prevent some cancers, improves cholesterol and protection of skin from UV rays
    • one medium tomato contains nearly a quarter of the recommended intake of vitamin C for an adult
    • rich in potassium to help regulate bodily fluids
    • quercetin and lutein content helps prevent cataracts in keep heart and eyes healthy
    • contain salicylates, which have an anticoagulant effect
    •  tomatoes also contain vitamin A and vitamin K

    Facts:
    • peak season May to August
    • tomatoes are composed of about 95% water
    • lycopene is actually more active in processed tomato products such as ketchup, tomato paste and tomato juice than it is in a raw tomato
    • diabetics... Rosso Bruno Tomatoes a brown hybrid of wild varieties have double the amount of fiber to help keep blood sugar stable

    Tips:
    • the more colorful the tomato the higher the content of lycopene
    • vine ripened tomatoes also contain more lycopene than those ripened right after picking
    • the tomato peel is richer in nutrients than the flesh
    • the lycopeneIn in raw or cooked tomatoes is better absorbed in your body if it is eaten oil such as salad dressing


    For more Homegrown News subscribe to my newsletter!

    Reference: 100 Best health Foods, Eat This Not That, Cooking Light What to Eat
    Like or Tweet this article to a friend by clicking the badges below. Thank you for your support.
  • Published on

    Did You Know: Peppers

    We've been picking peppers for several weeks now and the yields have been promising. Every time we harvest I can't help but think about what goes on inside the individual fruit I pick. It turns out peppers are really-really good for you and help prevent so many health issues. Find out why peppers are so amazing by reading more below!
    Picture
    Bright colored peppers contain high levels of carotenes for heart health and cancer protection, and are also a rich source of vitamin C.

    Peppers come in a variety of colors but the red and orange ones contain the highest level of vitamin B6 and carotenes. However all of them are extremely rich in vitamin C with an average serving producing more than a days recommended intake. In general, the deeper color of the pepper the more beneficial plant compounds it contains. These include bioflavonoids, to protect against cancer, and phenols which helped block the action of cancer-causing chemicals in the body. Peppers also contain plant sterols, which may have an anticancer effect.


    ​The Good Stuff:
    • rich source of a range of vitamins, minerals and plant chemicals
    • extremely rich in antioxidant vitamin C and an excellent source of antioxidant vitamin E
    • several components are strongly anticancer
    • good source of fiber
    • high lutein levels protect from macular degeneration
    • good source of vitamin B6 for reducing blood homocysteine levels; high levels of this have been linked to increase risk of heart disease, stroke, Alzheimer's disease and osteoporosis

    Facts:
    • peak season July to December
    • red peppers have 10 times more vitamin A and three times more vitamin C than their underripe green counterparts
    • red peppers have three times more vitamin C than an naval orange
    • peppers are native to South America and date back about 5000 years
    • peppers were introduced to Europe in the middle ages by Spanish and Portuguese explorers

    Tips:
    • peppers can be refrigerated for up to two weeks
    • the carotene in peppers are made more available to the body if they are coated and eaten a little oil
    • roasting concentrates the pepper's flavor, after charring on the grill or under a broiler put them in a sealed paperback to sweat, the skin will come off easy
    • fresh bell peppers can be seeded, sliced and frozen into plastic bags


    For more Homegrown News subscribe to my newsletter!

    Reference: 100 Best health Foods, Eat This Not That, Cooking Light What to Eat
    Like or Tweet this article to a friend by clicking the badges below. Thank you for your support.
  • Published on

    Good Garlic

    Just like everything else in farming garlic has it's own unique process. From when we plant, to when it's out on the farmstand there are a bunch of steps in between. It's so important to know your food and your farmers that we are going to share the process with you!
    Picture
    It all starts in the fall, just about mid-October. We plant one clove 6" inches in between the next, 1' foot apart and in 3 row sections. 

    The beds are then covered in straw. The straw provides winter insulation and weed management for the following season when it gets warm.

    In the spring it pops through the straw. From early spring until about mid-June we cultivate, keeping the beds clear of weeds that would rob the bulbs of its nutrients.
    During this time we are also harvesting the scapes. It is the flower and stem that blooms from the garlic bulb. Scapes are a delicacy in the cooking world and are sold, but more importantly, by harvesting those, it provides more nutrients for the plant and in the end produces a bigger bulb.
    If you ever see scapes at our stand or at a farmers market, grab some and experiment. Use them just as you would regular garlic, they are really tasty!
    From June forward the plant begins to die back. When the greens turn brown we begin to hand pull the stocks them from the soil. 
    Some farms use broad forks and undercutting machines, but we do it the old fashioned way
    When the harvest is complete we brush the soil from the bulb and rack them. We then store them in a cool dry place, it's just like curing. A fan is also setup to blow air through the stocks to speed up the process. They then have to sit for several weeks and dry before we groom them for the farmstand.
    After the bulbs have finished curing we cut the stocks down to 1" inch. We also trim the roots and clean the bulb by hand, pulling back 1 to 2 layers of the skin that surrounds the cloves.
    Picture
    And the finished product, beautiful Mount Hood Garlic! 

    We bet you didn't know how much work goes into all those little bulbs you see on the supermarket shelves everyday :) 


    ​For more Homegrown News subscribe to my newsletter!

    Like or Tweet this article to a friend by clicking the badges below. Thank you for your support.
  • Published on

    No Big Dill Pickles

    Now is the perfect time to can pickles! One, because we have this handy-dandy pickle recipe and two, we are stocking half bushels of pickling cucumbers for your convenience. Never canned before? Give it a try!

    The first part of this recipe is done the day before you plan on canning. The cucumbers need to soak overnight in the brine, then the next day you will fill your jars and the processing begins

    ​INGREDIENTS 
    8 lbs of 3 to 4 inch pickling cucumbers
    2 gals water
    1 1/4 c canning or pickling salt
    1 1/2 qts vinegar
    1/4 cup sugar
    2 qts water
    2 tbsp whole mixed pickling spice 
    whole mustard seed (2 tsp per pint jar)
    ​garlic clove, fresh (1 per pint jar)
    fresh dill (1 1/2 heads per pint jar)
    SUPPLIES
    - water bath canner
    ​- pot
    canning jars, lids
    - canning jar lifter
    - canning funnel
    - large spoon
    - sharp knife
    - towels and dish cloths
    - kettle for the brine or ladle
    DIRECTIONS
    • Wash your cucumbers and thinly slice off the blossom end. 
    • Add 3/4 cup salt dissolved in 2 gallons water. Soak the cucumbers in the water for 12 hours.
    • After the cucumbers have soaked, drain and get your canning supplies together.
    • Get the water in your canner heating while you prepare your pickles.
    • In a pot combine vinegar, 1/2 cup salt, sugar, and 2 quarts of water. Place pickling spices in a cheesecloth and place in your vinegar brine. Heat to boiling.
    • Fill each jar with drained cucumbers and add 1 tsp mustard seed, 1 garlic clove and 1 head fresh dill or per.
    • With kettle fill jars with hot pickling brine and leave a 1/2 inch of head space.
    • Place lids on pint jars and tighten rings. Submerge carefully in hot bath water.
    • Place lid on water bath canner. Bring water to a full rolling boil.
    • Process jars in the boiling water for the processing time indicated, adjusting for altitude (see below). When processing time is complete, turn off the heat and remove the canner lid. Allow jars to stand in canner for 5 minutes to get acclimated to the outside temperature.
    • Carefully remove jars from canner and set upright on a towel to prevent jar breakage that can occur from temperature differences. Leave jars undisturbed for 12 to 24 hours. Jar lids should not be retightened as this may interfere with the After jars have cooled, check jar lids for a good seal. Lids should not flex up and down when center is pressed. If a lid does not seal within 24 hours, the product can be immediately reprocessed or refrigerated.
    • Label and share then store in a cool, dry, dark place for up to 1 year.

    HOT WATER BATH ALTITUDE & PROCESSING TIMES
    Processing time will vary according to your elevation. Hatfield is in the 0-1000 ft range. 

    0-1000 ft - 10 minutes
    1000-6000 ft - 15 minutes
    over 6000 ft - 20 minutes

    TIP
    • Be sure to wash jars and lids in hot, soapy water, dry, and set aside until needed.


    For more Homegrown News subscribe to my newsletter!

    Like or Tweet this article to a friend by clicking the badges below. Thank you for your support.