• Published on

    Good Garlic

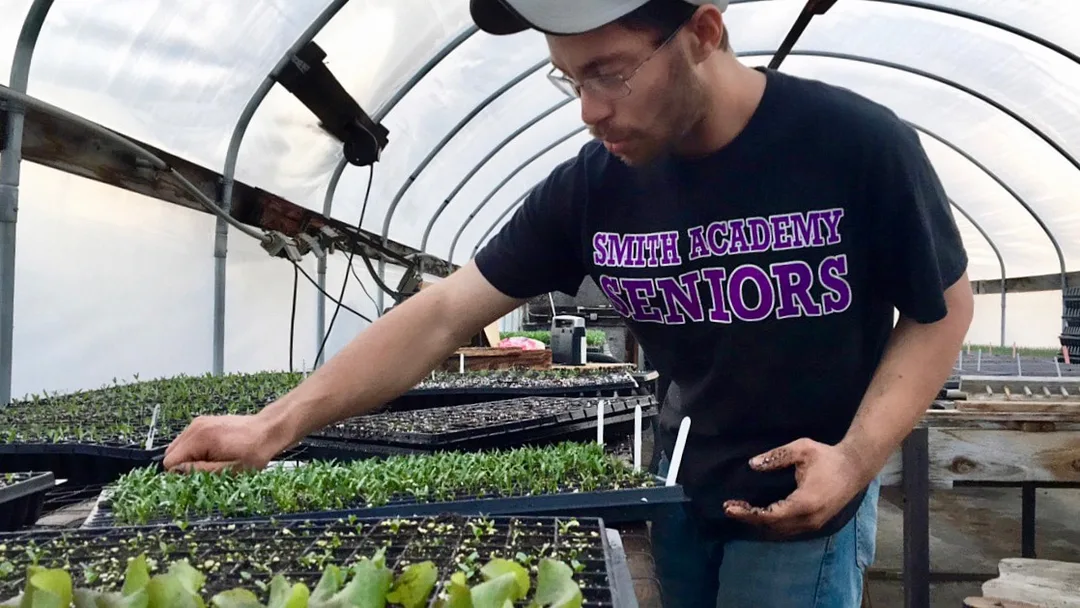
    Just like everything else in farming garlic has it's own unique process. From when we plant, to when it's out on the farmstand there are a bunch of steps in between. It's so important to know your food and your farmers that we are going to share the process with you!
    Picture
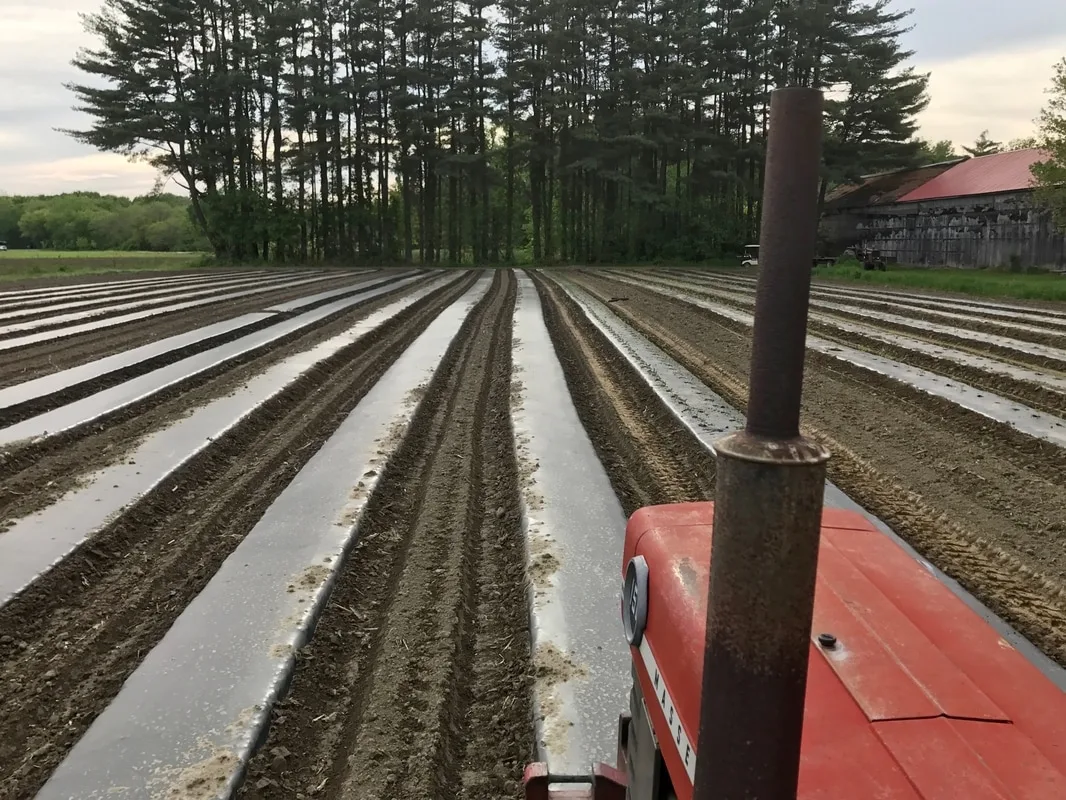
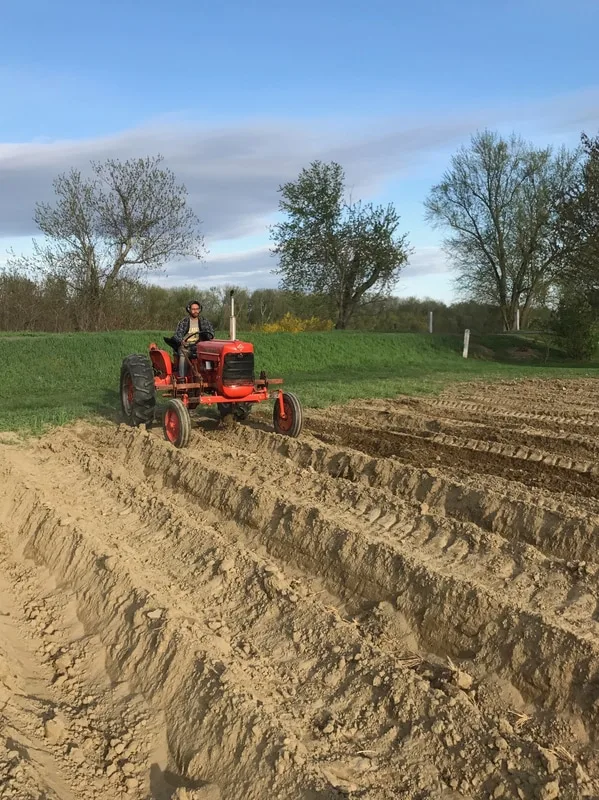
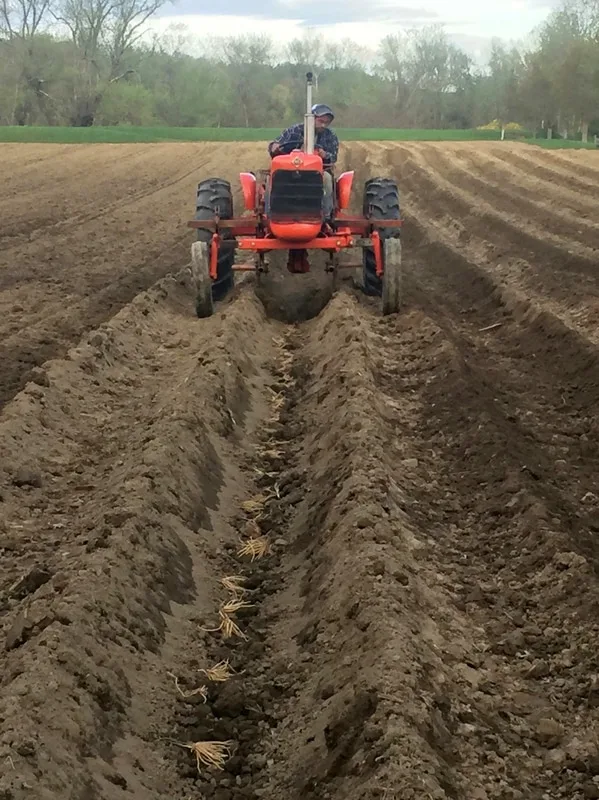
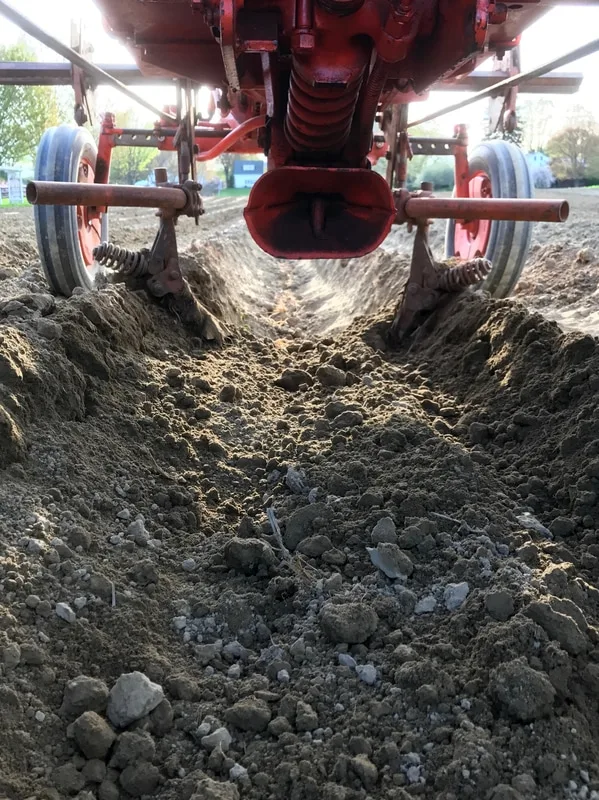
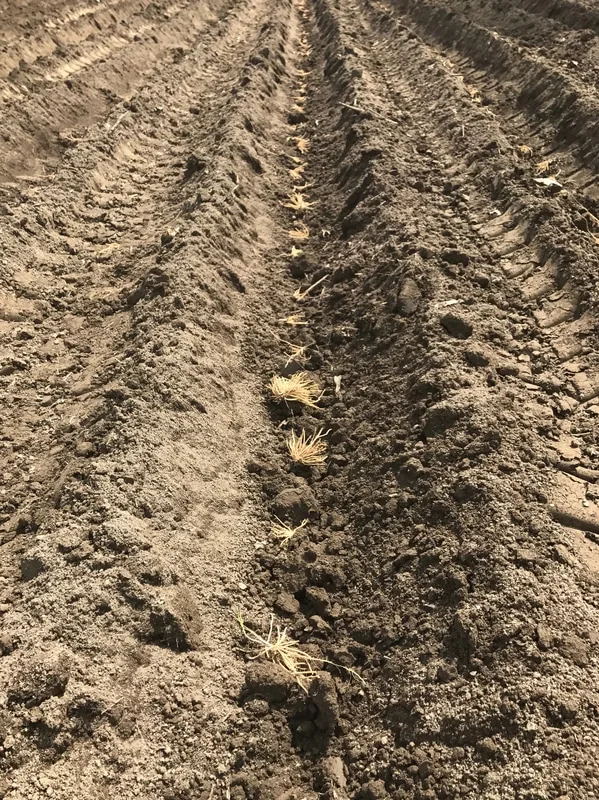
    It all starts in the fall, just about mid-October. We plant one clove 6" inches in between the next, 1' foot apart and in 3 row sections. 

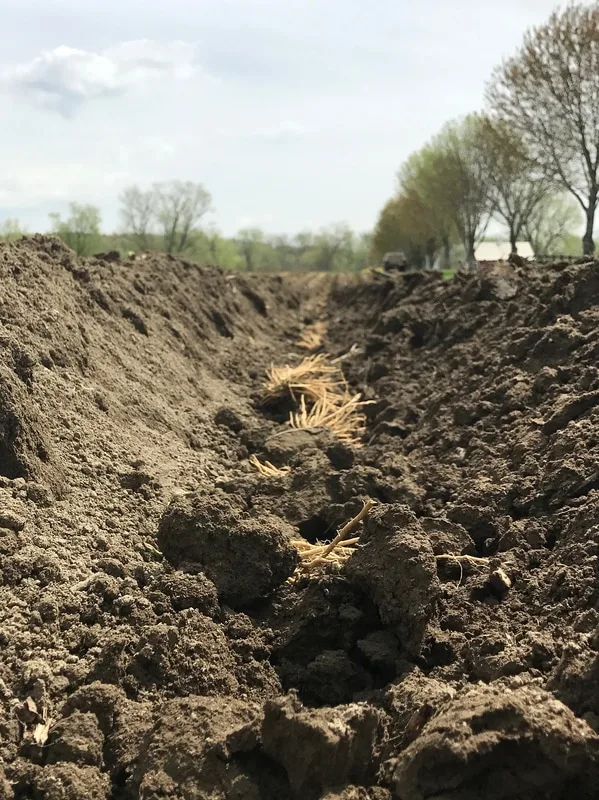
    The beds are then covered in straw. The straw provides winter insulation and weed management for the following season when it gets warm.

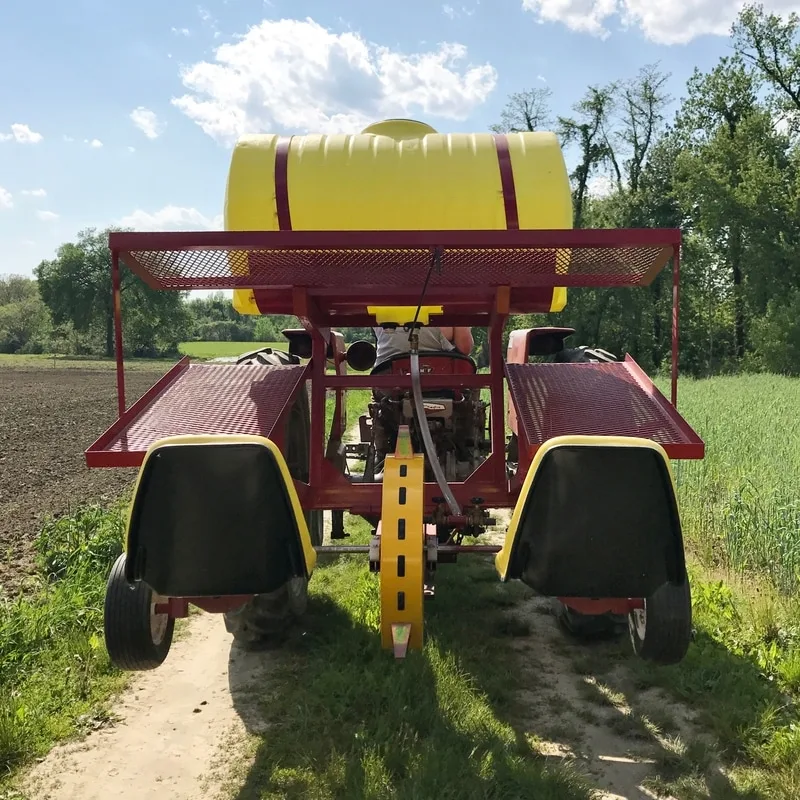
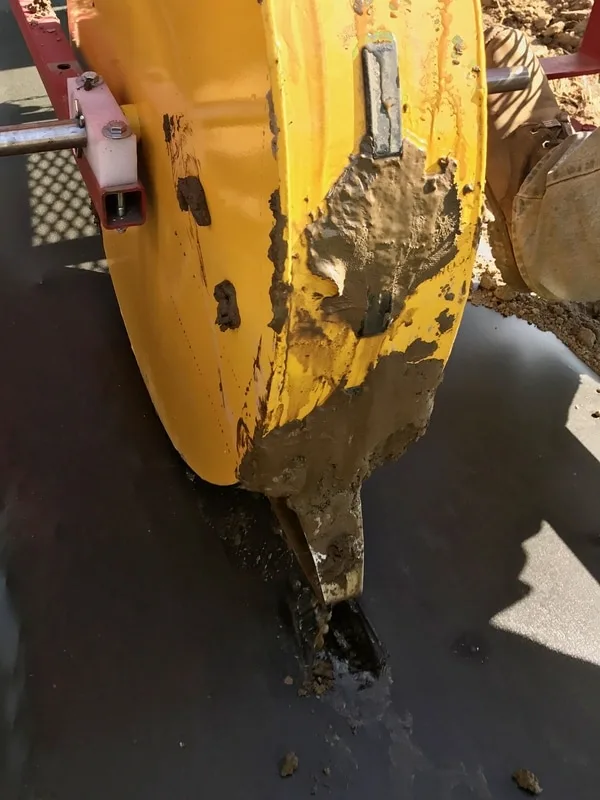
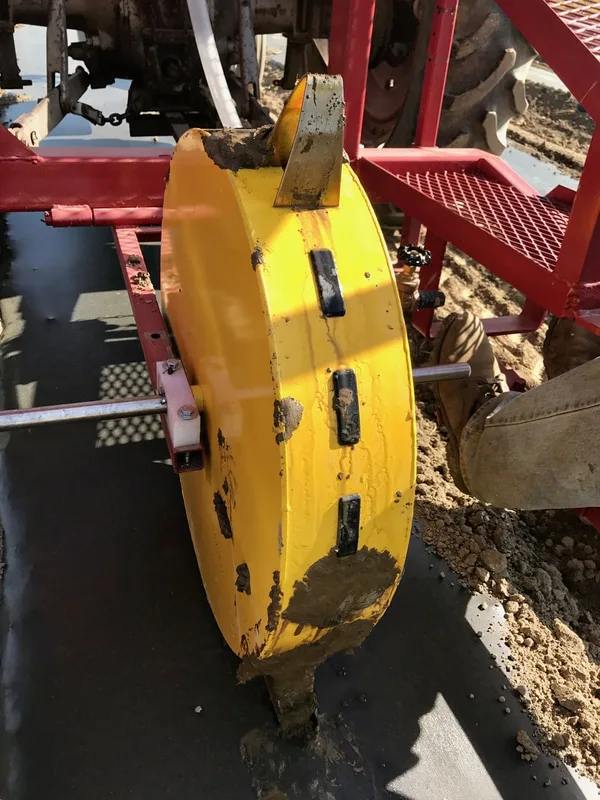
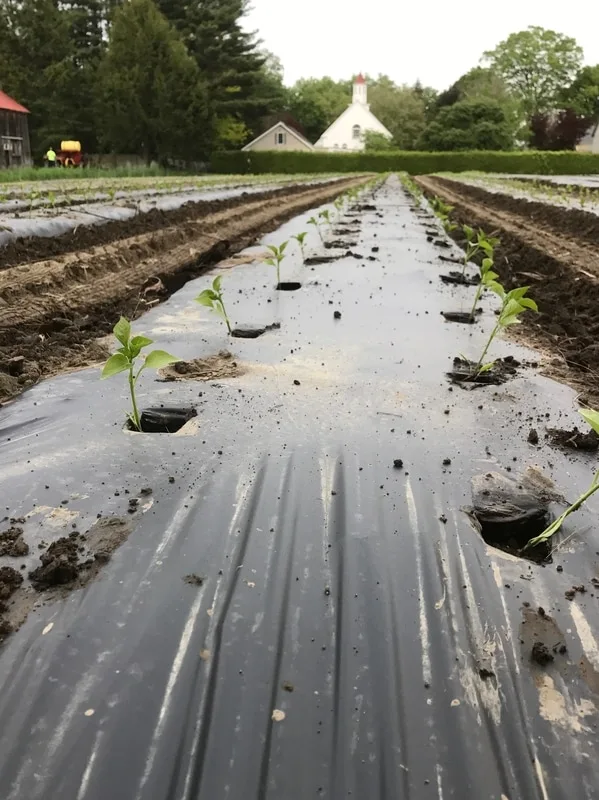
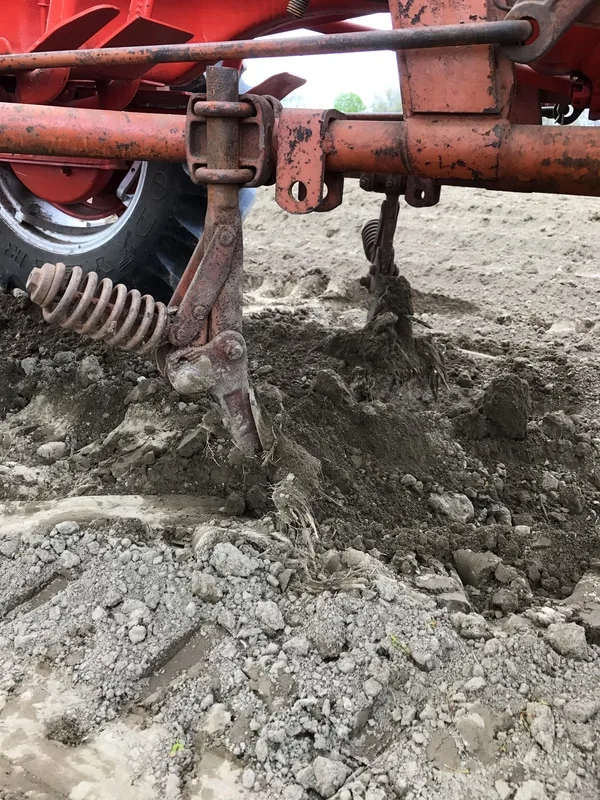
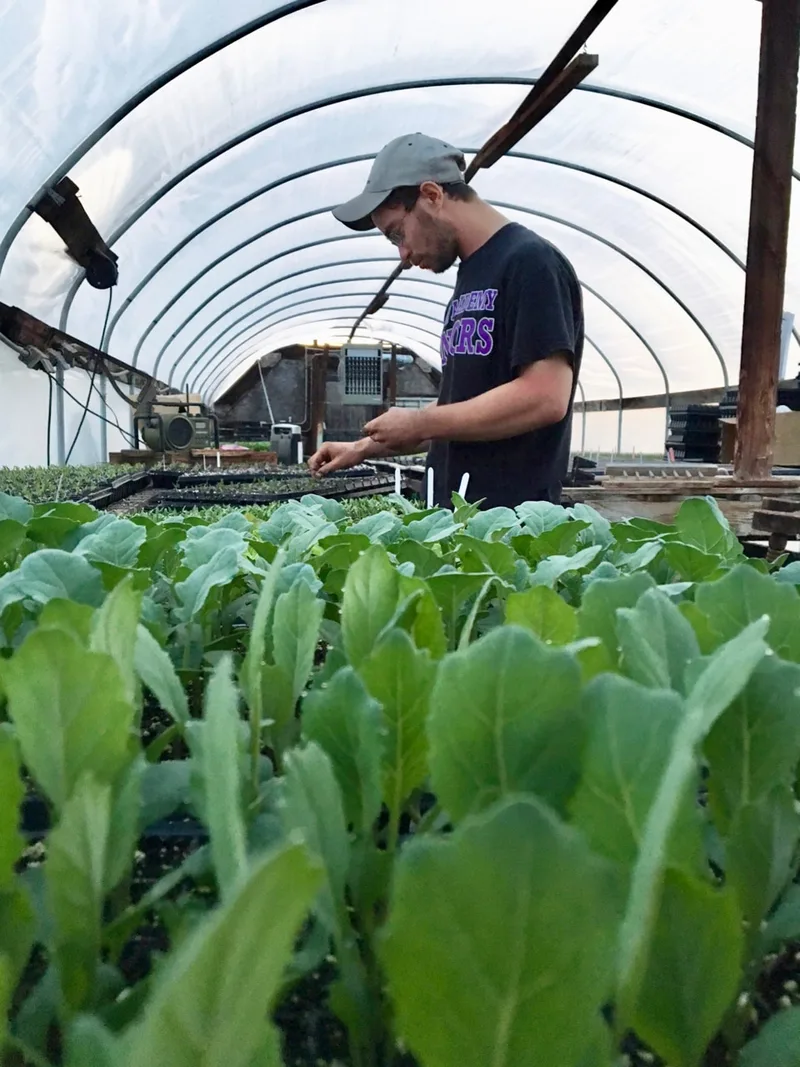
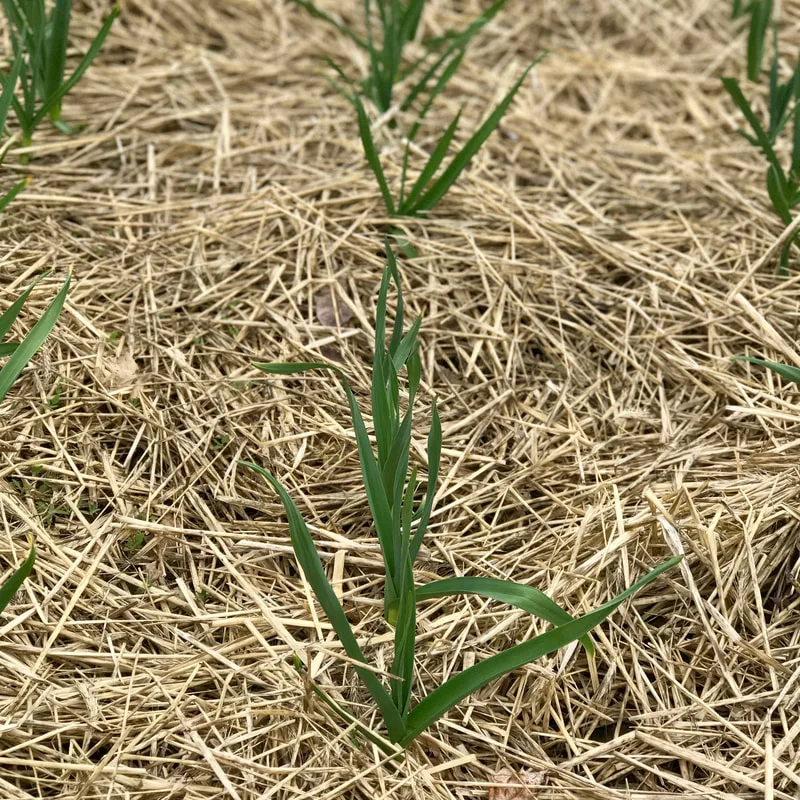
    In the spring it pops through the straw. From early spring until about mid-June we cultivate, keeping the beds clear of weeds that would rob the bulbs of its nutrients.
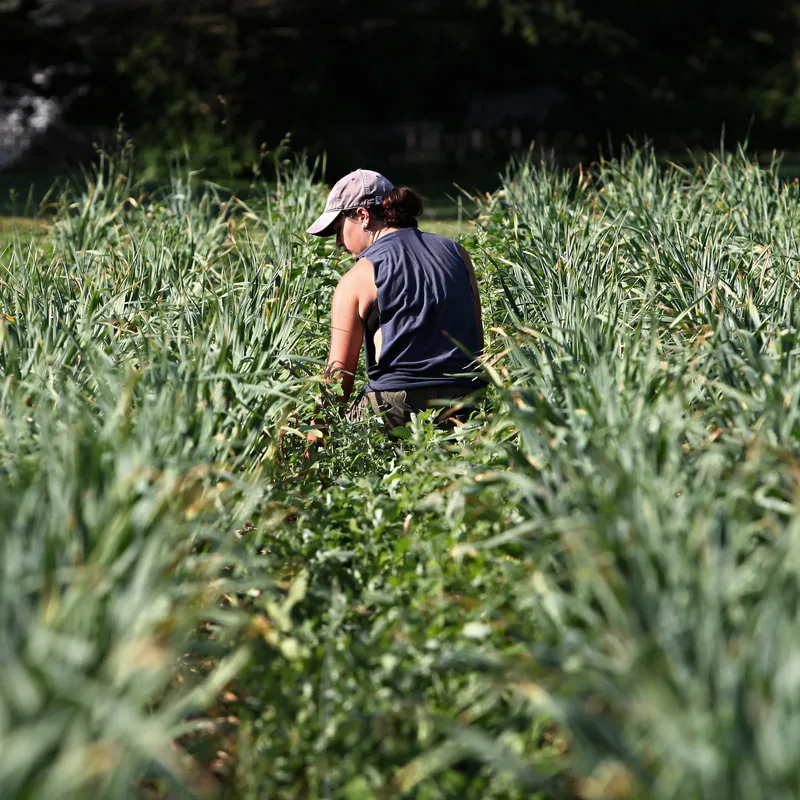
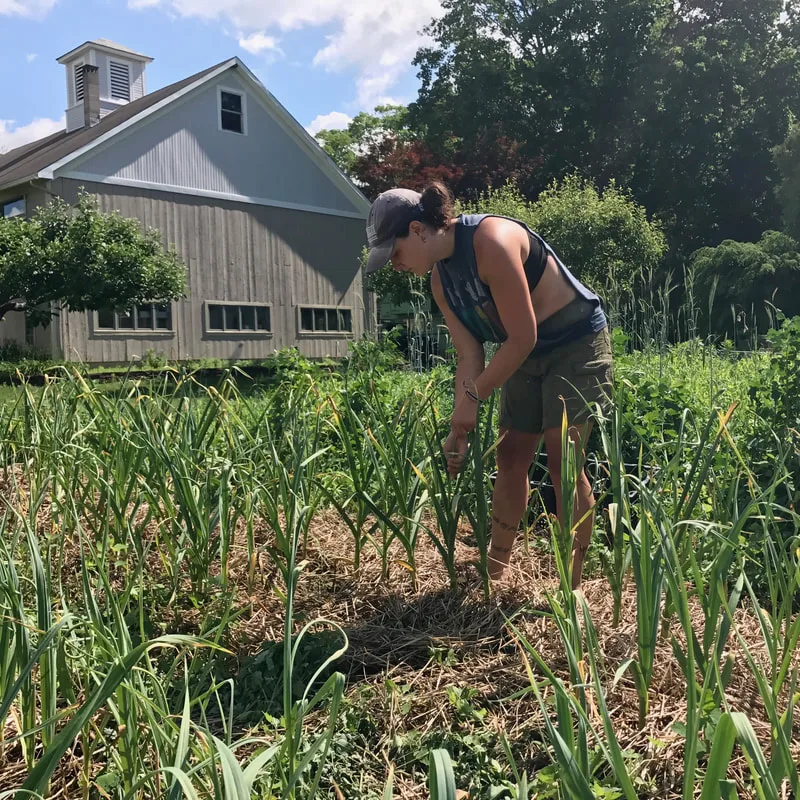
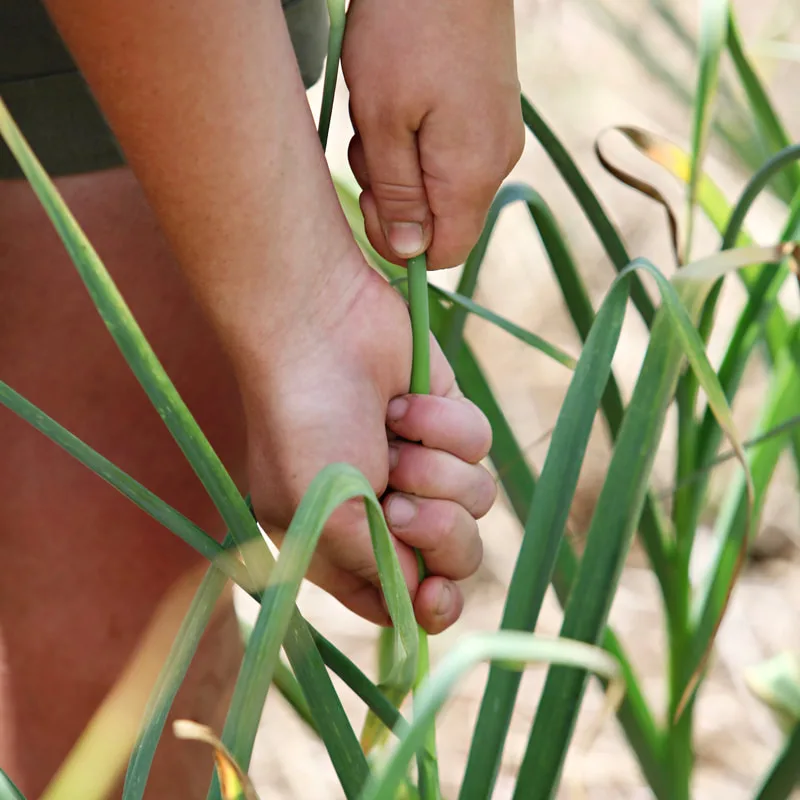
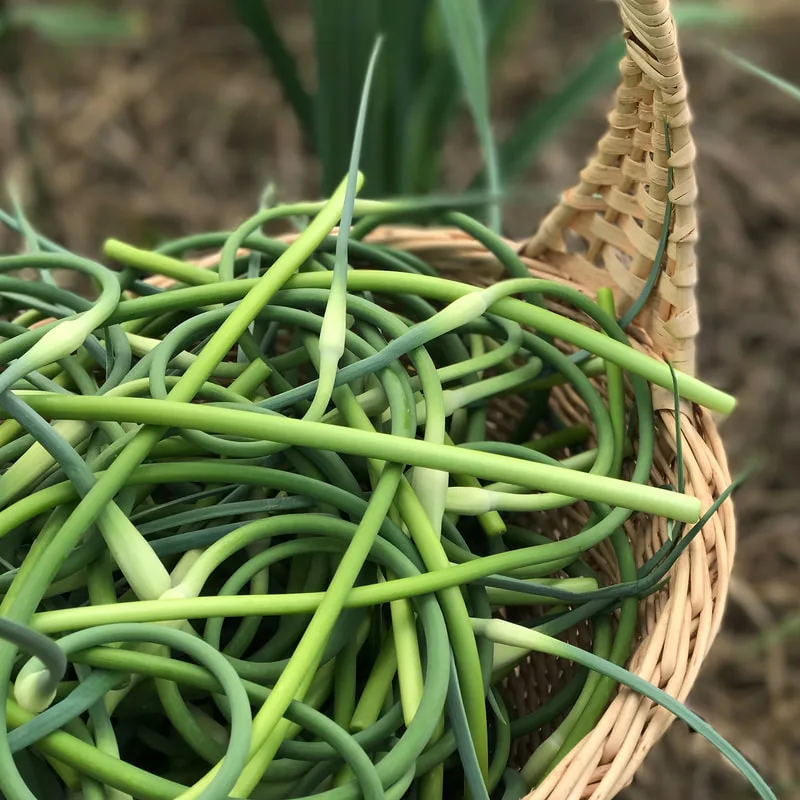
    During this time we are also harvesting the scapes. It is the flower and stem that blooms from the garlic bulb. Scapes are a delicacy in the cooking world and are sold, but more importantly, by harvesting those, it provides more nutrients for the plant and in the end produces a bigger bulb.
    If you ever see scapes at our stand or at a farmers market, grab some and experiment. Use them just as you would regular garlic, they are really tasty!
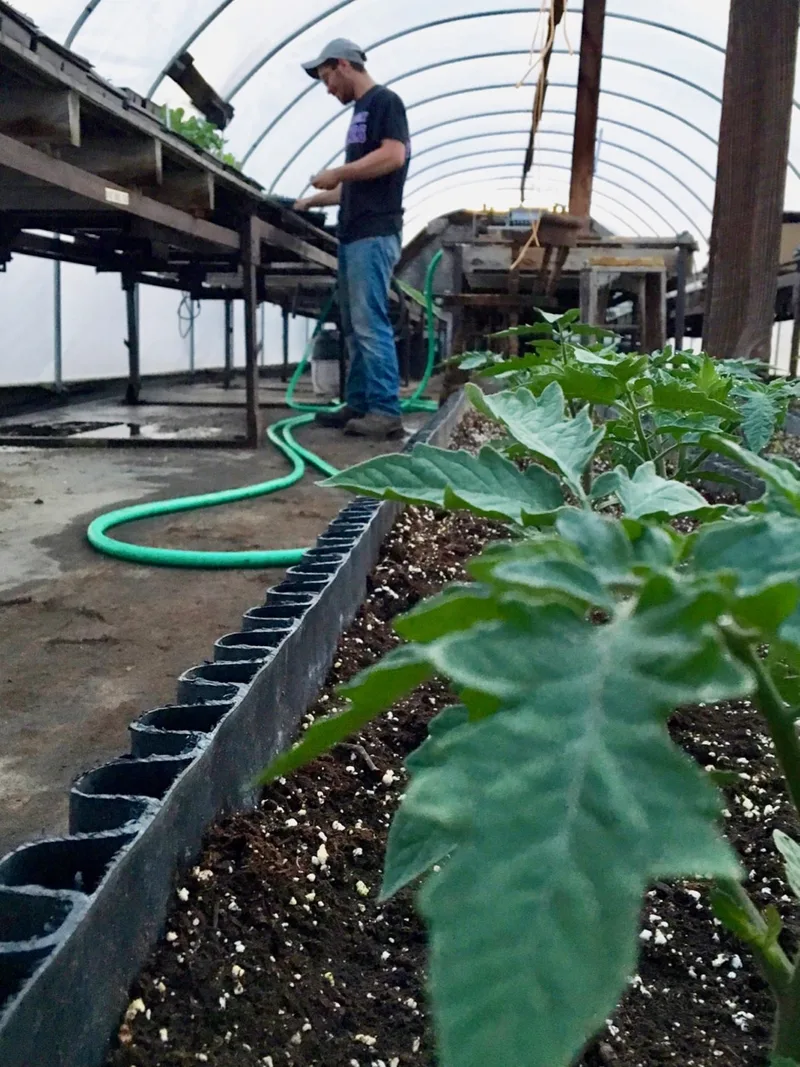
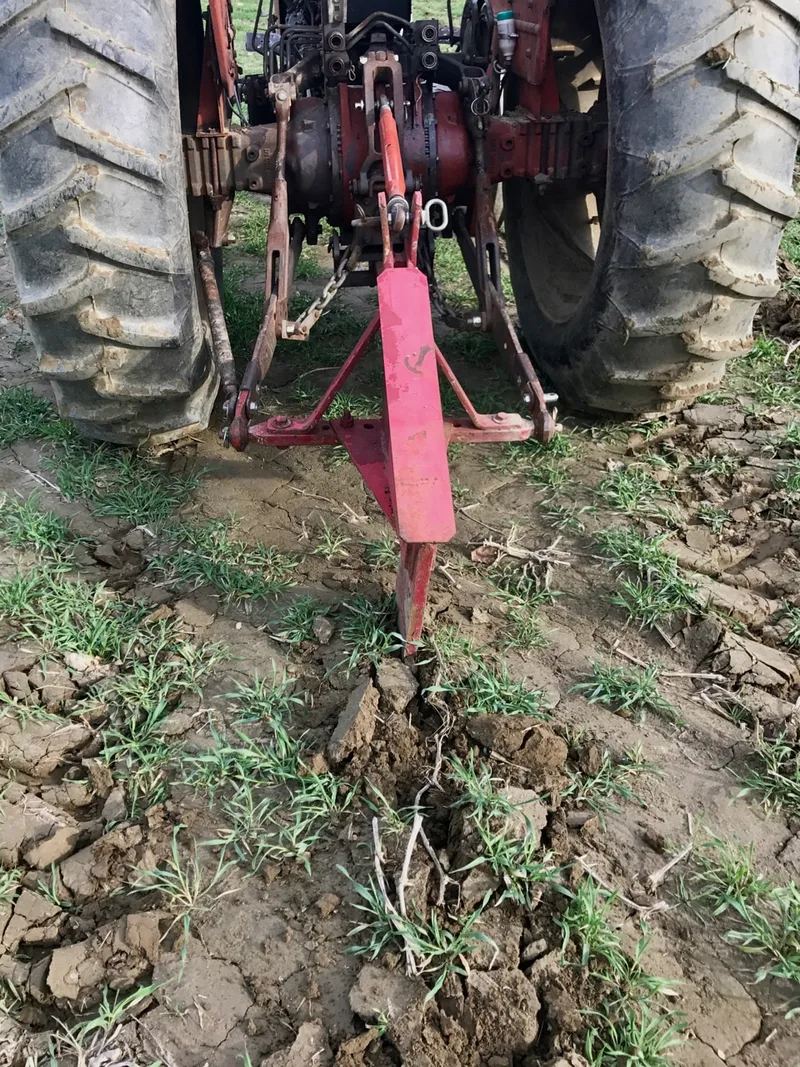
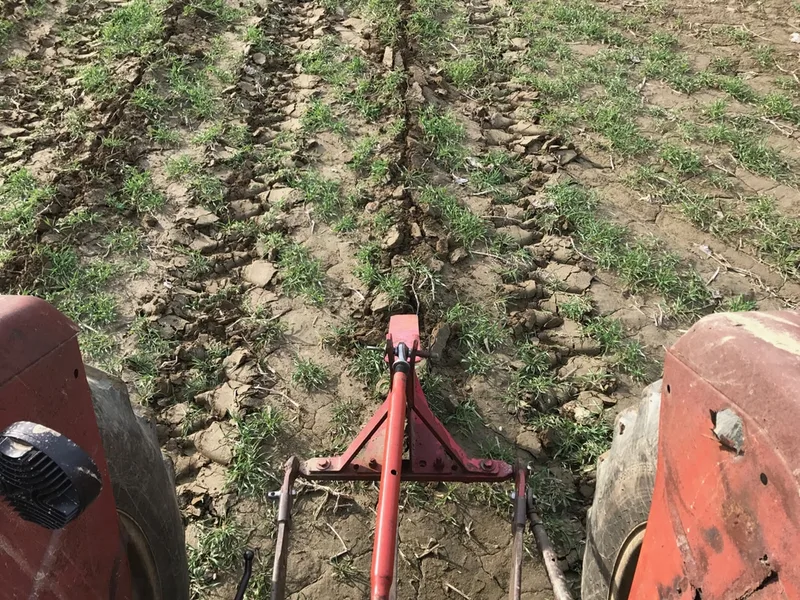
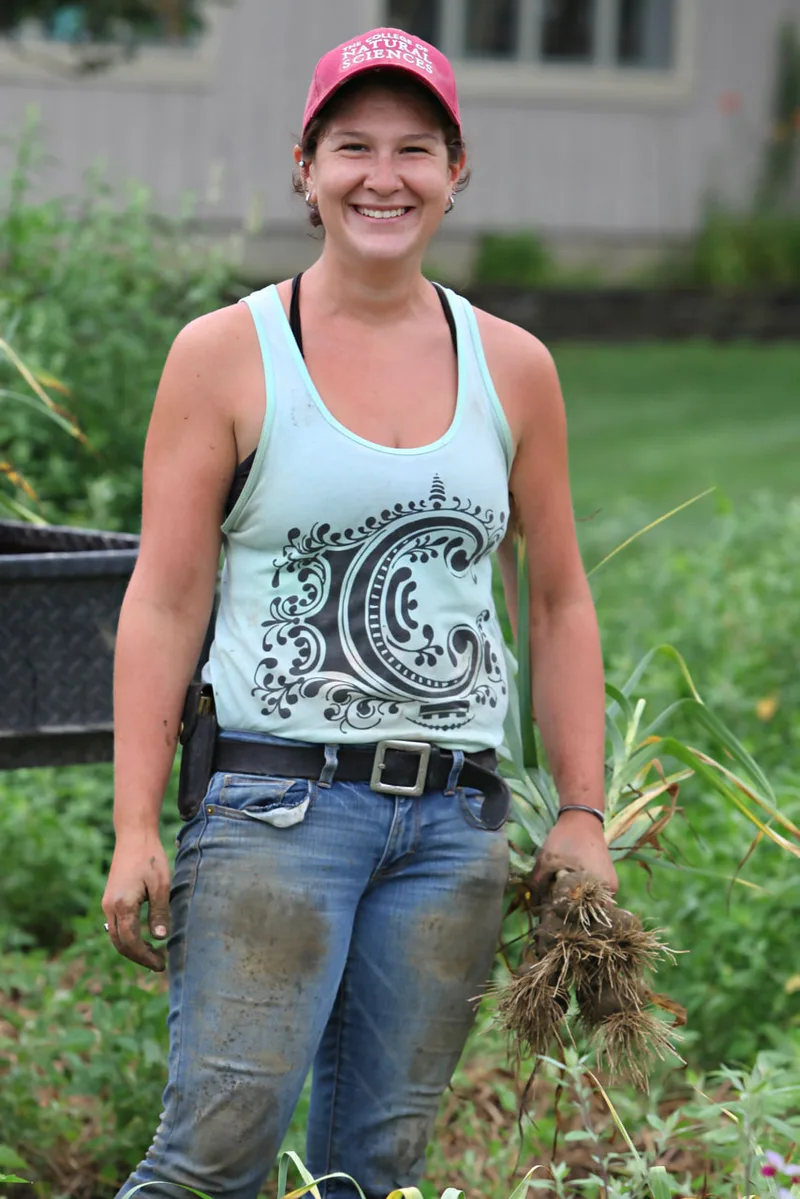
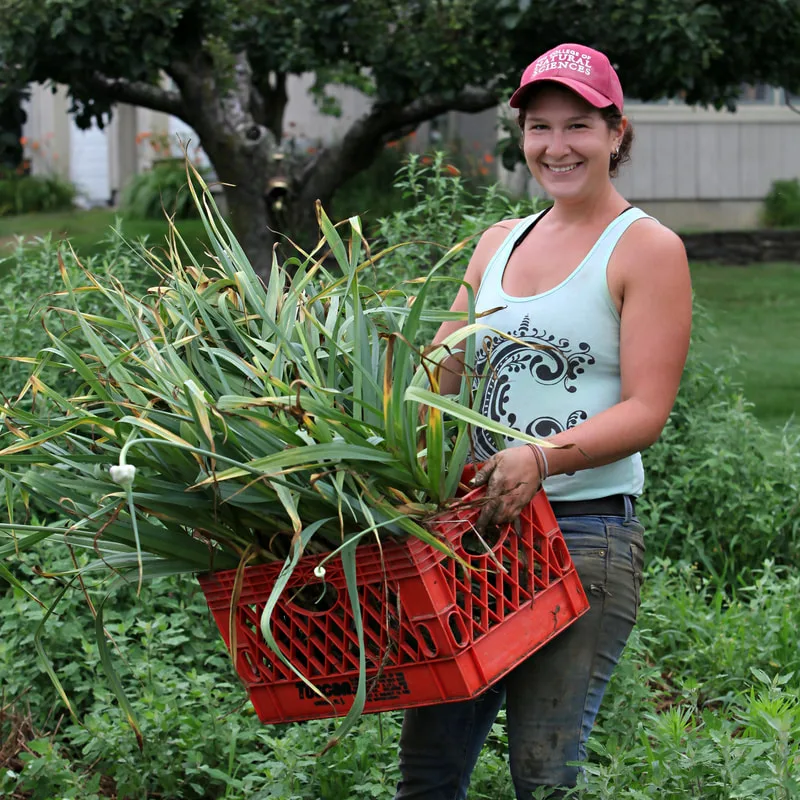
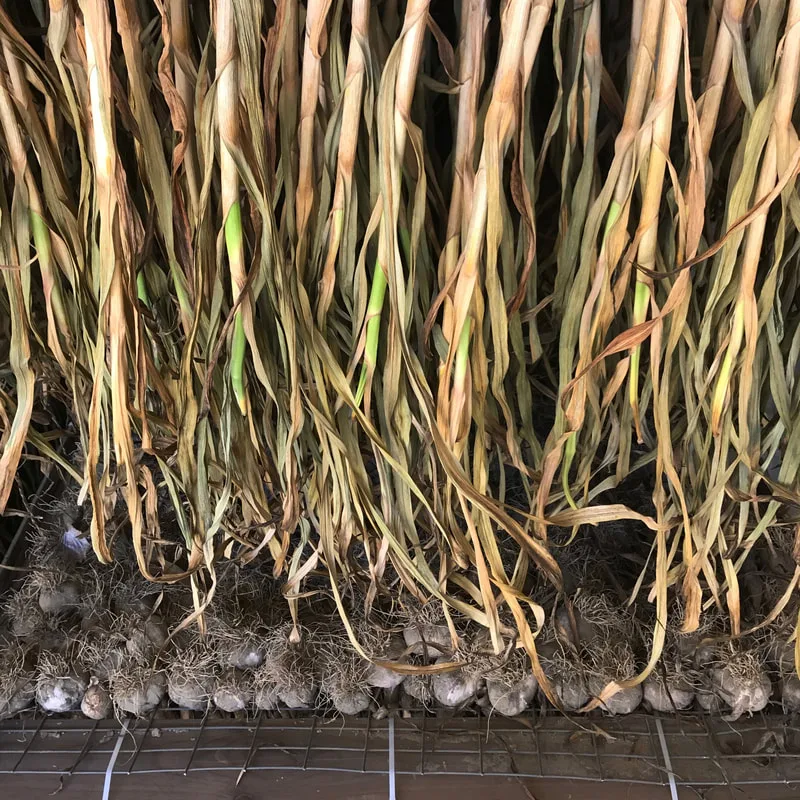
    From June forward the plant begins to die back. When the greens turn brown we begin to hand pull the stocks them from the soil. 
    Some farms use broad forks and undercutting machines, but we do it the old fashioned way
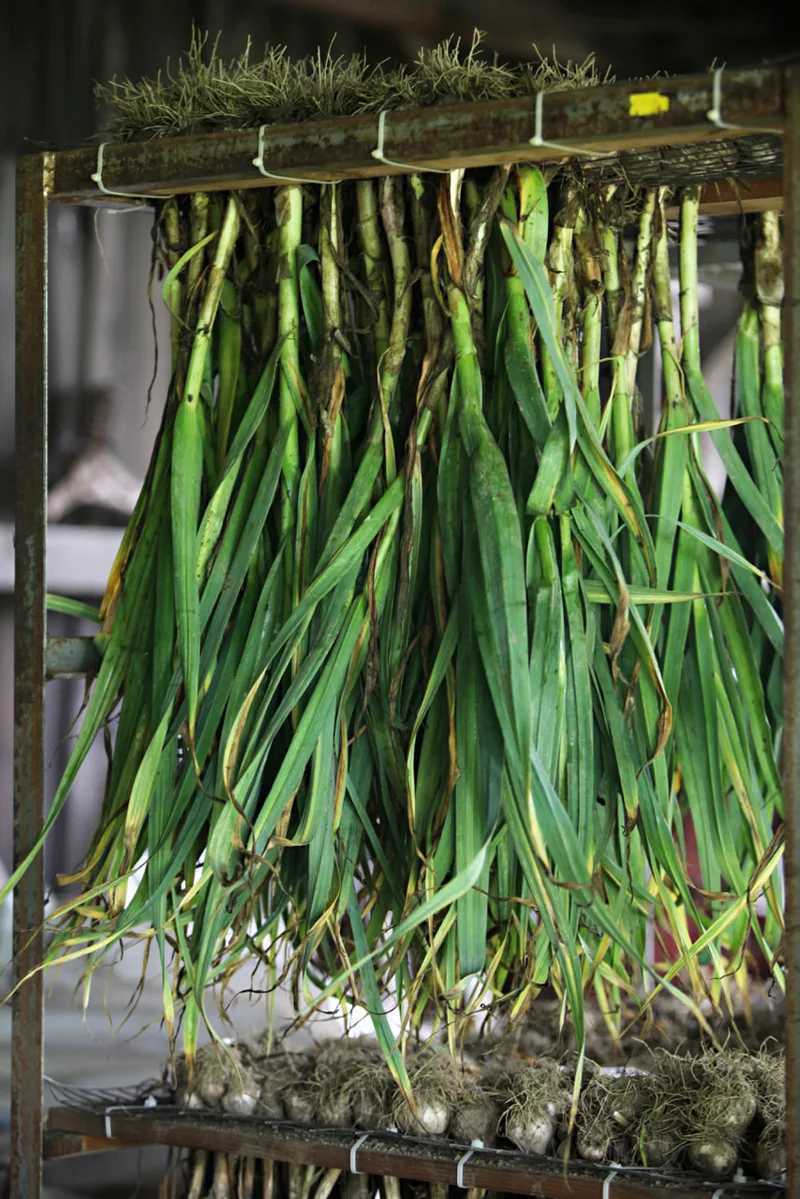
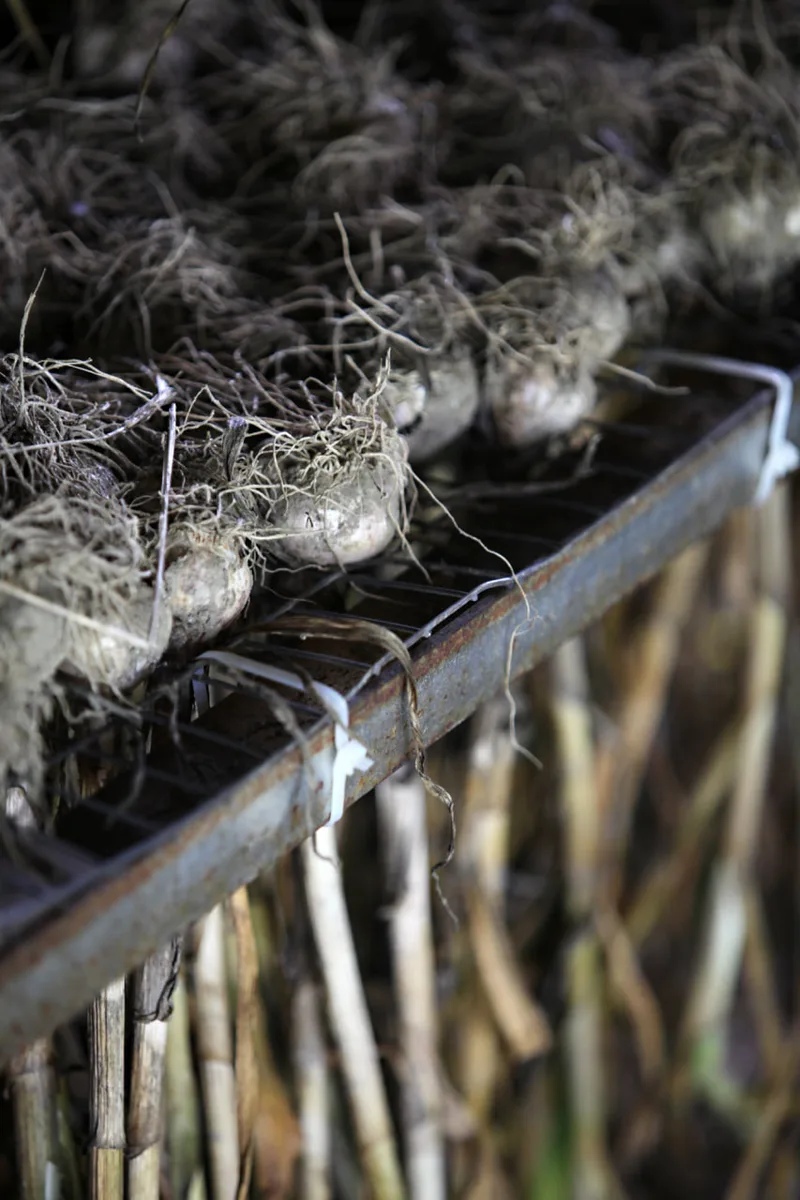
    When the harvest is complete we brush the soil from the bulb and rack them. We then store them in a cool dry place, it's just like curing. A fan is also setup to blow air through the stocks to speed up the process. They then have to sit for several weeks and dry before we groom them for the farmstand.
    After the bulbs have finished curing we cut the stocks down to 1" inch. We also trim the roots and clean the bulb by hand, pulling back 1 to 2 layers of the skin that surrounds the cloves.
    Picture
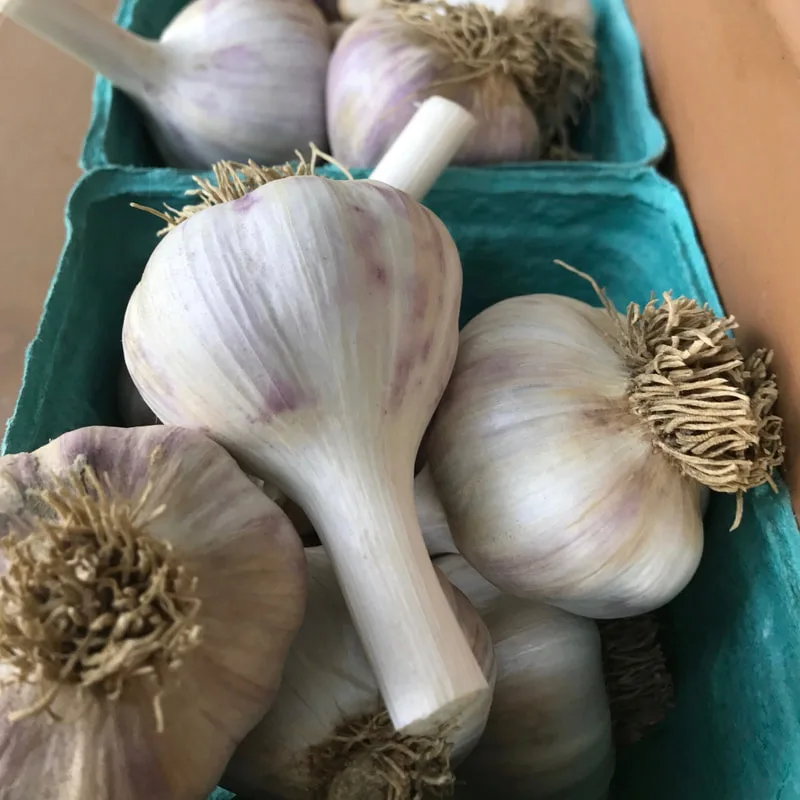
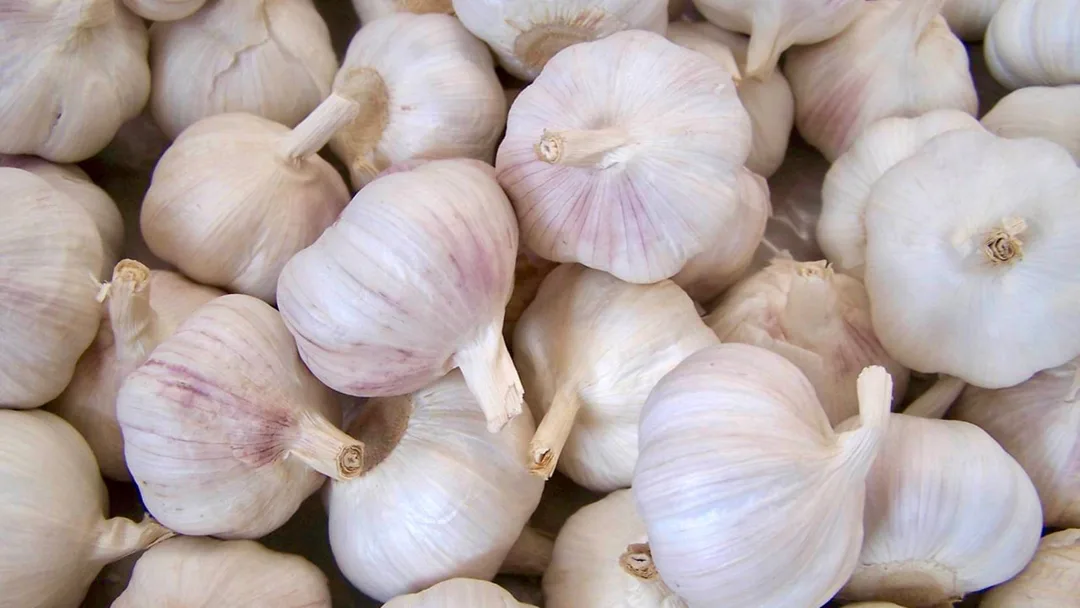
    And the finished product, beautiful Mount Hood Garlic! 

    We bet you didn't know how much work goes into all those little bulbs you see on the supermarket shelves everyday :) 


    ​For more Homegrown News subscribe to my newsletter!

    Like or Tweet this article to a friend by clicking the badges below. Thank you for your support.
  • Published on

    Plastic Mulching & Planting

    Ever wonder why farmers use black plastic in their fields? We explain here!

    Plastic mulch is a product used in a similar way to conventional mulch, to suppress weeds and conserve water in crop production.
    Picture
    Seeds benefit from this method because you can plant earlier in the season. The plastic creates a humidity chamber and helps speed along the germination process.

    Under the plastic, drip tape is laid in the center of the raised bed to irrigate the crop. The raised beds helps with irrigation by preventing the seedling's roots from sitting in water.  

    Because plastic mulching acts as a greenhouse for the soil it generates higher yields and more production.

    Weed control is another benefit of plastic mulching, more moisture and nutrients go to the crop, as well as saving time in field maintenance. 
    After the plastic mulch is laid we use a plastic transplanter. This piece of equipment cuts through plastic into the raised bed and creates a plug for the seeds or seedlings. 
    Picture
    It has a center wheel with spikes that can be adjusted for different spaced plugs. It also has a hose that can deliver water and or fertilizer before the plant goes into the plug.
    When planting, one person drives the tractor, one person drops the seed or seedling into the plug and the other covers.
    For more Homegrown News subscribe to my newsletter!

    Like or Tweet this article to a friend by clicking the badges below. Thank you for your support.
  • Published on

    Growing Asparagus

    Asparagus is a perennial crop that when planted, and maintained properly, can give decades of production. Planting asparagus is not a quick and easy task. It takes years to establish and many hours in the field watching over the tender plants.  

    Asparagus isn't grown like normal seed or plant put into the ground. They grow from crowns and since they are a perennial crop, they generate growth year after year.
    This is how we build our beds...

    1. Grow the roots by seed: We decided to grow the roots ourselves instead of purchasing one year old roots already grown. It’s extra work and a lot of care, but it saves money. The only down side is that it adds an extra year to full production time.


    2. Digging roots in the spring: If you remember, a few weeks ago, I posted to Instagram, the crew and I digging asparagus roots from a field to be planted. This was done by undercutting under the root system and pulling them up with a rake. It’s was a long, but fun process!

    3. Next-up is prepping the field for planting. We did our normal subsoiling, plowing, and bed shaping of the field. The next step is a little out of the ordinary. We trenched rows for the asparagus crowns. It’s very important that asparagus is planted about 8 to 12” deep in the soil. This is accomplished by using a trencher, to dig deep furrows into the soil so we can lay roots into.

    4. Planting the crowns: We space them about a foot or so apart, in the trenches, with the crowns facing up. 

    5. After we have the roots set in the ground they must be covered with about 1 to 2” of top soil. It is very important that you do not cover the roots with all the soil that was trenched-out for it will smother their growth. We mustered-up a new system with the cultivators and tractor to make the job a bit easier and more efficient. 

    6. Next we will fertilize and monitor pH, asparagus requires a pH of about 6.8 to 7.0.

    7. After we receive a development of new asparagus ferns we have to slowly keep filling in the trenches as they grow until we are back up at an even ground level. This also helps with weed control as well.

    From this point, the process takes a good 4 years to see full production. 

    The next time you are enjoying this favorite springtime crop you now know how much TLC goes into the creation of this plant. Please spread the word and thanks for listening!

    Related:


    For more Homegrown News subscribe to my newsletter!

    Like or Tweet this article to a friend by clicking the badges below. Thank you for your support.
  • Published on

    The greenhouse affect...

    Picture
    Last night I was in the greenhouse transplanting eggplant seedlings from row trays into cell trays. The Classic and Nubia varieties looked great since seeding them! 
    "The tiny seed knew that in order to grow, it needed to be dropped in the dirt, covered in darkness, and struggle to reach the light." - Sandra King
    Because seeds don’t have a 100% germination rate we transplant seedlings into cell trays to ensure we have perfect germination before going into the field. We want to have accurate seedling numbers to plan the field layout. The plants will grow more effectively and can also be monitored more easily. 
    Seedlings are planted with one root shoot to make it easier when transplanting into the smaller cells. We use a wooden hole punch to make a place to plant seedlings.

    Peppers are next on the greenhouse schedule, 
    more behind the scenes to come! 

    If you want to learn a little more about our tray system and germination, continue on below.
    Picture

    Germination is the development of a plant from a seed or spore after a period of dormancy.

    What is seed germination? 
    When a seed is covered with soil, it can begin germination. Germination is the process of seeds developing into new plants. Environmental conditions must trigger the seed to grow. This is determined by how deep the seed is planted, water availability, and temperature. When moisture is plentiful, the seed fills with water in a process called imbibition. The water activates special proteins, called enzymes, that begin the process of seed growth. First the seed grows a root to access the moisture. Next, the shoots, or growth above ground, begin to appear. The shoot on the surface of the soil will grow leaves, where it will harvest energy from the sun. The leaves continue to grow towards the light source in a process called photomorphogenesis.
    For more Homegrown News subscribe to my newsletter!

    Like or Tweet this article to a friend by clicking the badges below. Thank you for your support.
  • Published on

    Soil Science Part 2

    With the warm weather things are beginning to speed up around the farm! Working the land makes me so happy and riding the tractor puts a stupid ol' smile on my face :) Yesterday, I started up the Massey Fergusson and subsoiled the field. What, you don't know what subsoiling is? Well let me explain...
    "To forget how to dig the earth and tend the soil is to forget ourselves." - Mahatma Gandhi
    Subsoiling is the act of breaking-up the compacted layers (pans) of the soil to create better drainage and root growth for the plants. 

    With constant plowing or tillage
     of a field, the soil tends to get hard and compacted resulting in more water run off, erosion, and in the end, poor plant development. By using a subsoiler to breakup these hard packed pans (layers) between the top soil and subsoil layers you are creating a better environment for plants to thrive by loosening the actual layers. 

    A subsoiler is a long shank approximately two feet long that can cut depths up to 20 inches, whereas regular tilling equipment would only go to a max depth of about twelve inches. The subsoiler we use is called a "one shank tooth" and you can see why it's so effective.

    We make a complete pass every five to six feet, or tractor tire to tire, back and forth, until the field is complete.
    For more Homegrown News subscribe to my newsletter!

    Like or Tweet this article to a friend by clicking the badges below. Thank you for your support.
  • Published on

    Soil Science

    It felt so good to get into the field yesterday! I was getting soil samples ready for testing and it dawned on me that most people don't really know the science behind planting a field. Soil sampling is the first step and this will give you an idea of how it all works. I'll create more posts like this one from time-to-time to give you a better understanding of what we do. Like they say, know your farmer, know your food!
    ​“What you see depends on how you view the world. To most people, this is just dirt. To a farmer, it’s potential.” - Doe Zantamata 
    Soil sampling is a vital part of farming and the first field work a farmer must do. Samples are collected to see what essential nutrients are in the field such as nitrogen, phosphorus, and potassium. Along with checking soil pH and organic matter which is essential for plant growth and development.

    A six to eight inch core of top soil is enough to get an adequate reading. Five to eight more soil cores are taken per acre to get overall analysis from the field we are testing.

    We walk on a diagonal zig-zag throughout the field gathering samples and once all are collected we mix the cores together.

    The soil samples should be moist, but more on the dry side, or it will create problems during transport. If the soil is very wet it also could affect the results.   

    The samples are sent to the UMASS Amherst soil lab where they go through the process of testing for different nutrients and organic matter. Simple tests can be done from home to test pH, but a lab has better equipment and the current tech to dive deeper into the samples and give a better analysis.
    Picture
    For more Homegrown News subscribe to my newsletter!

    Like or Tweet this article to a friend by clicking the badges below. Thank you for your support.