• 49 Main
    • FAQ
  • HCC
    • Enrollment Form
    • Farm Share Loan
  • Blog
  • About
    • Meet the Team
  • Contact
  • Wholesale
    • Return Policy
  • Employment
  • Swag
  • C2C
    • Carrot Blog
  • More...
    • 49 Main >
      • FAQ
    • HCC >
      • Enrollment Form
      • Farm Share Loan
    • Blog
    • About >
      • Meet the Team
    • Contact
    • Wholesale >
      • Return Policy
    • Employment
    • Swag
    • C2C >
      • Carrot Blog
  • Blog
  • Contact
  • Employment
  • Swag
49 Main
  • 49 Main
  • FAQ
HCC
  • HCC
  • Enrollment Form
  • Farm Share Loan
About
  • About
  • Meet the Team
Wholesale
  • Wholesale
  • Return Policy
C2C
  • C2C
  • Carrot Blog
Your Cart

Tags

  • 5 Reasons (2)
  • Announcements (12)
  • carrot-blog (13)
  • Did You Know (8)
  • Education (24)
  • forkful (86)
  • Forkful (77)
  • Gardening (2)
  • General (36)
  • Harry's Farm VLOG (43)
  • homegrown-news (148)
  • Kitchen (3)
  • Partnerships (1)
  • Produce Availability List (1)
  • produce-weekly (106)
  • Produce Weekly (92)
  • Recipes (6)
  • Survey (2)
  • Tech (2)
  • The Winter Table (5)
  • the-winter-table (6)
  • Week In Pictures (3)
  • Who Knew? (1)
  • Wisdom (2)
  • Year In Review (4)
  • Published on
    March 28, 2018

    The High Tunnel Project: Part 2

    General homegrown-news
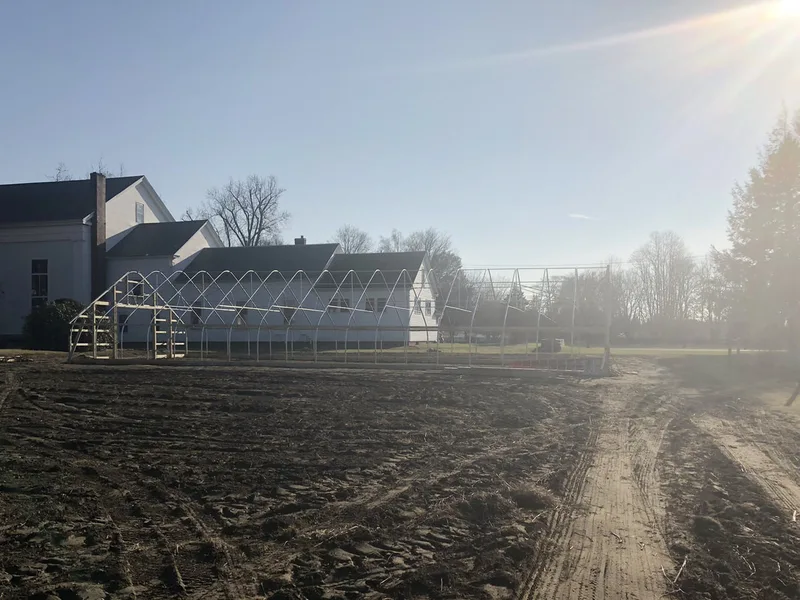
    We have battled more winter weather since we last left-off, the snow wasn't too bad but the wind sure gave us a beating.

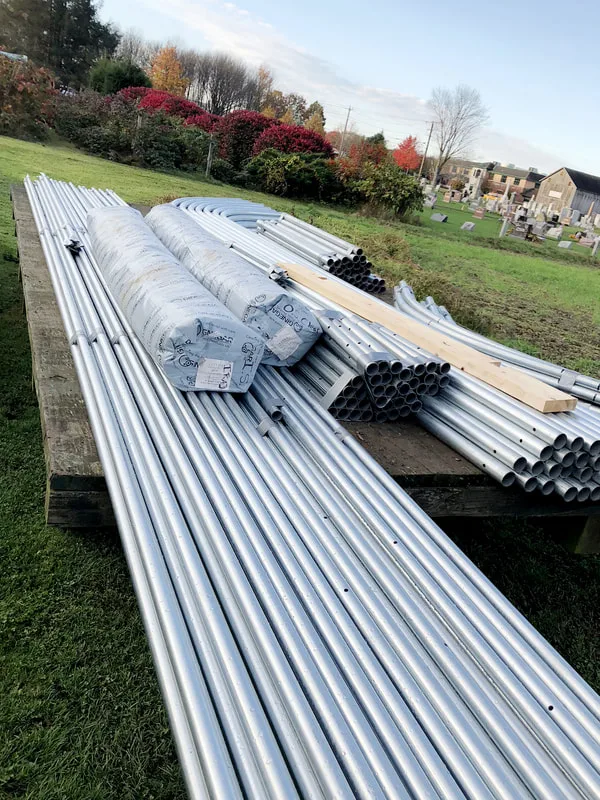
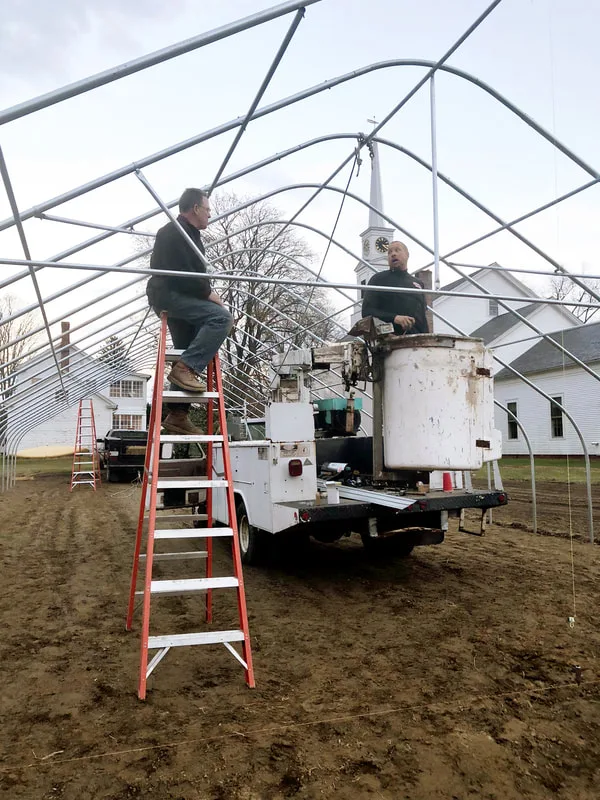
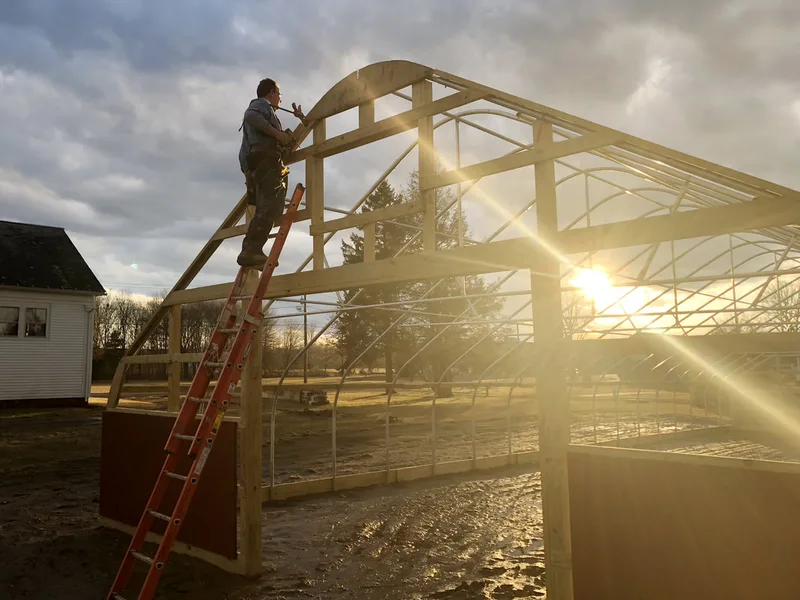
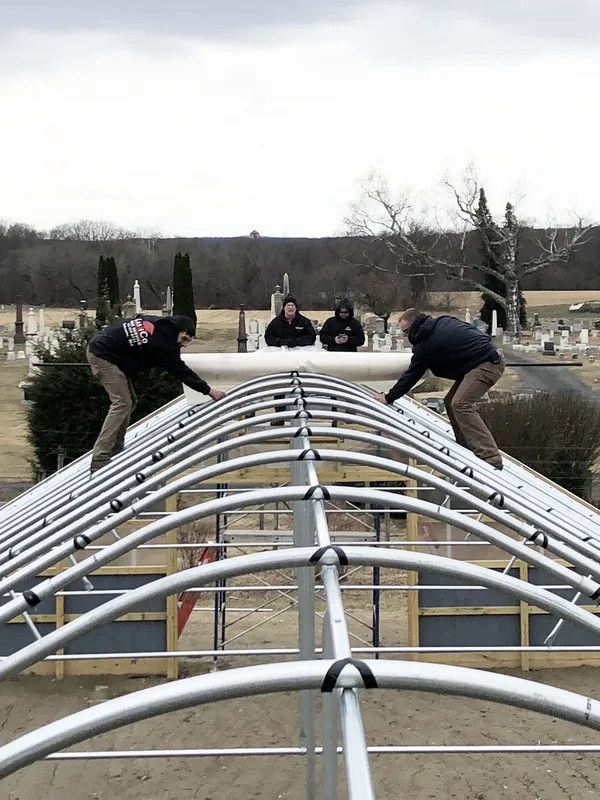
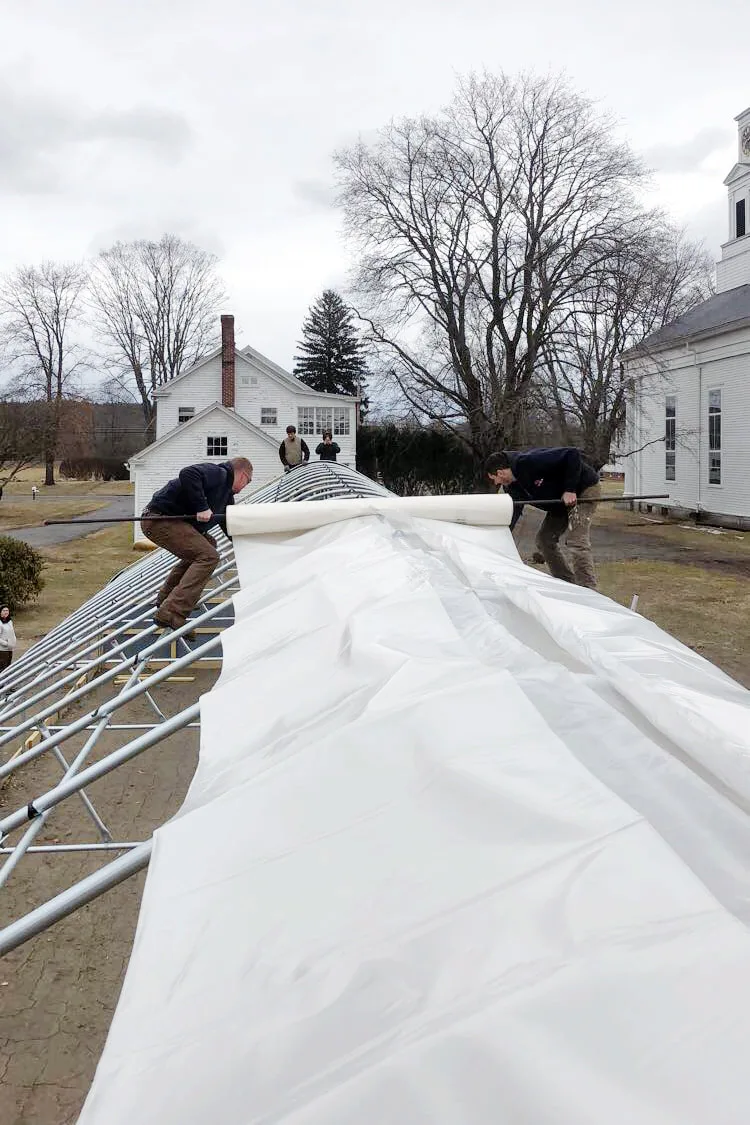
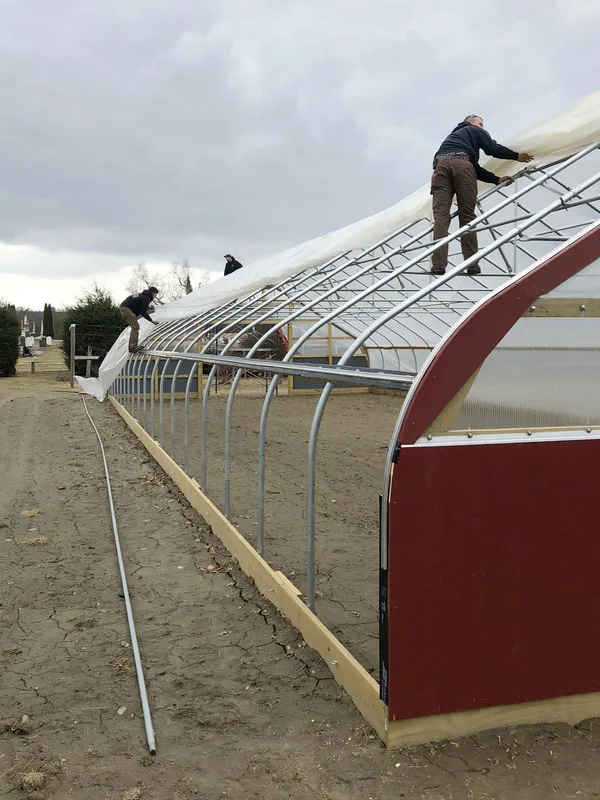
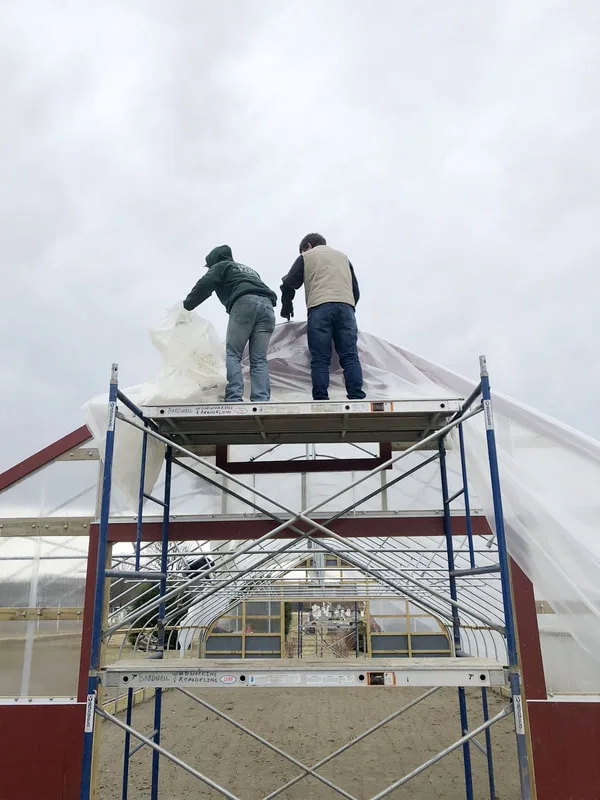
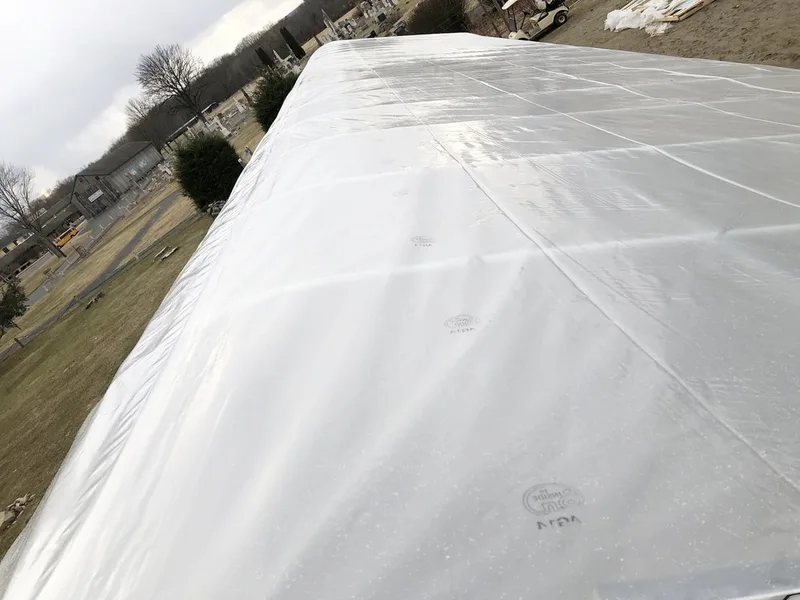
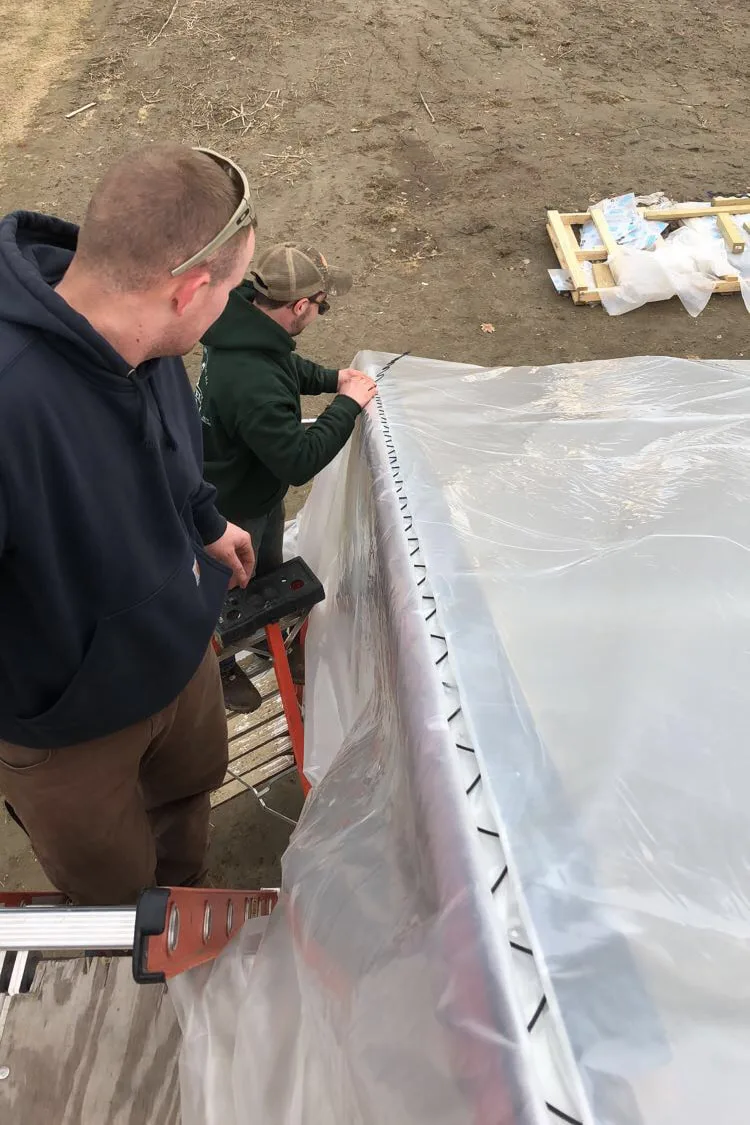
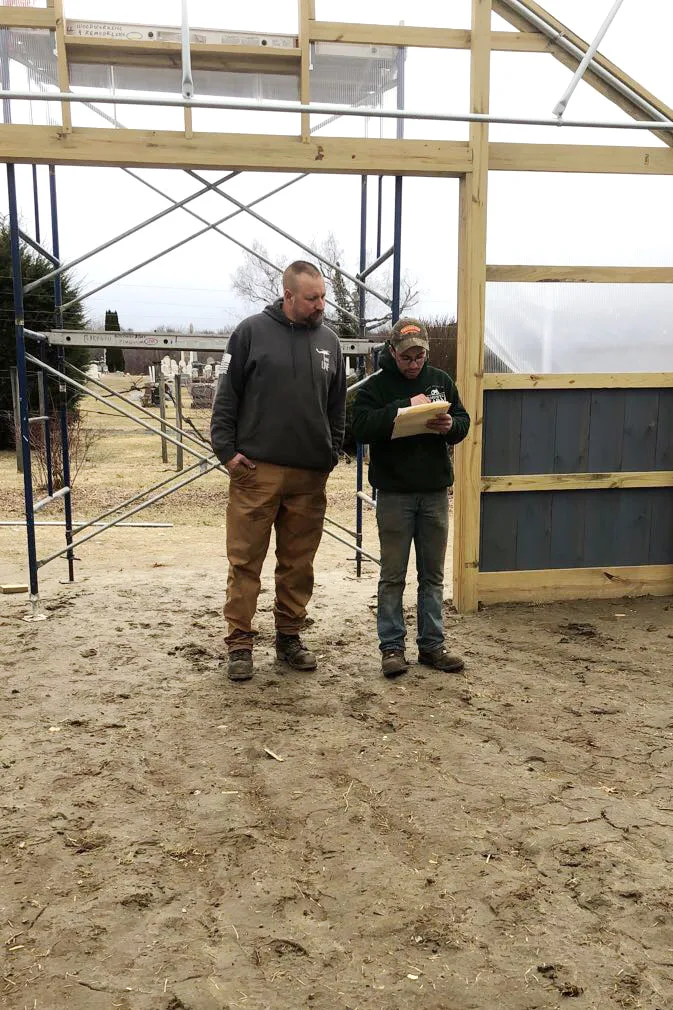
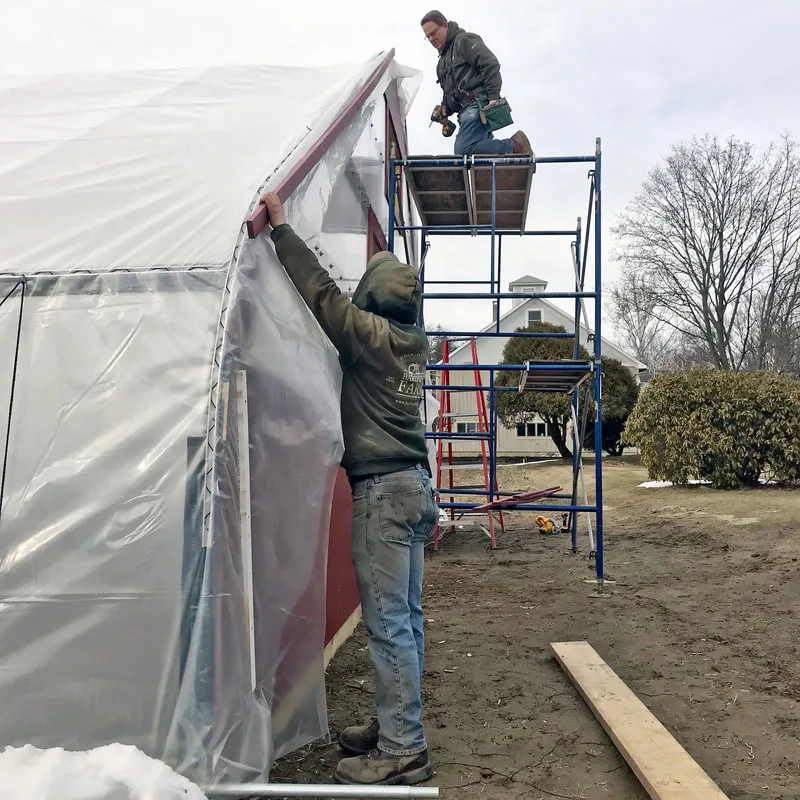
    After we put the plastic up on the frame we waited for a warm day to readjust and tighten everything up. Thanks for the help Cam and Spencer!

    Next, we installed a blower for the double layer of plastic. The blower adds air between the layers and creates an air pocket to act as a type of insulation. With the inflated layers it retains more heat when the weather is colder.
    Picture
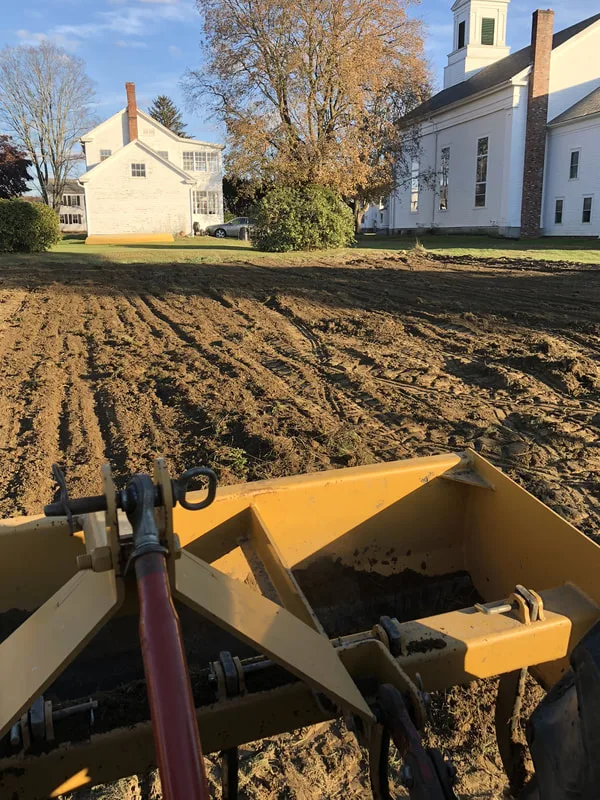
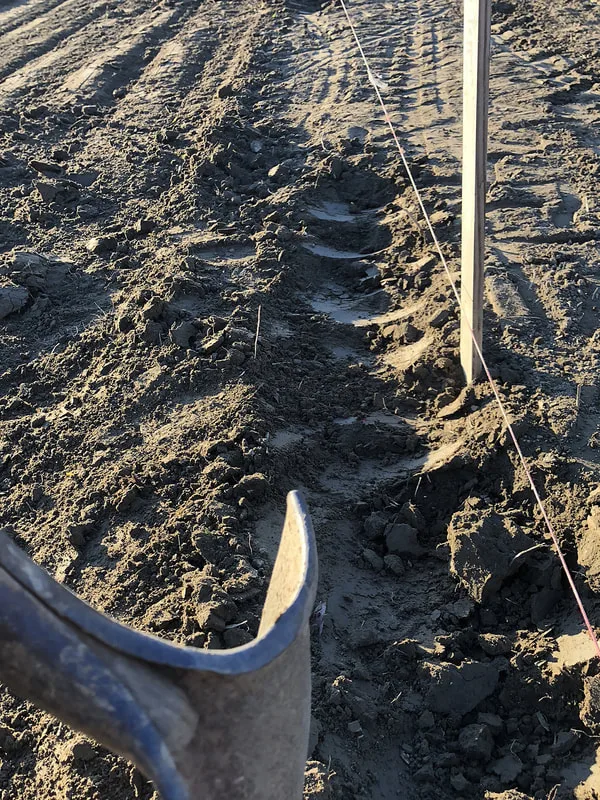
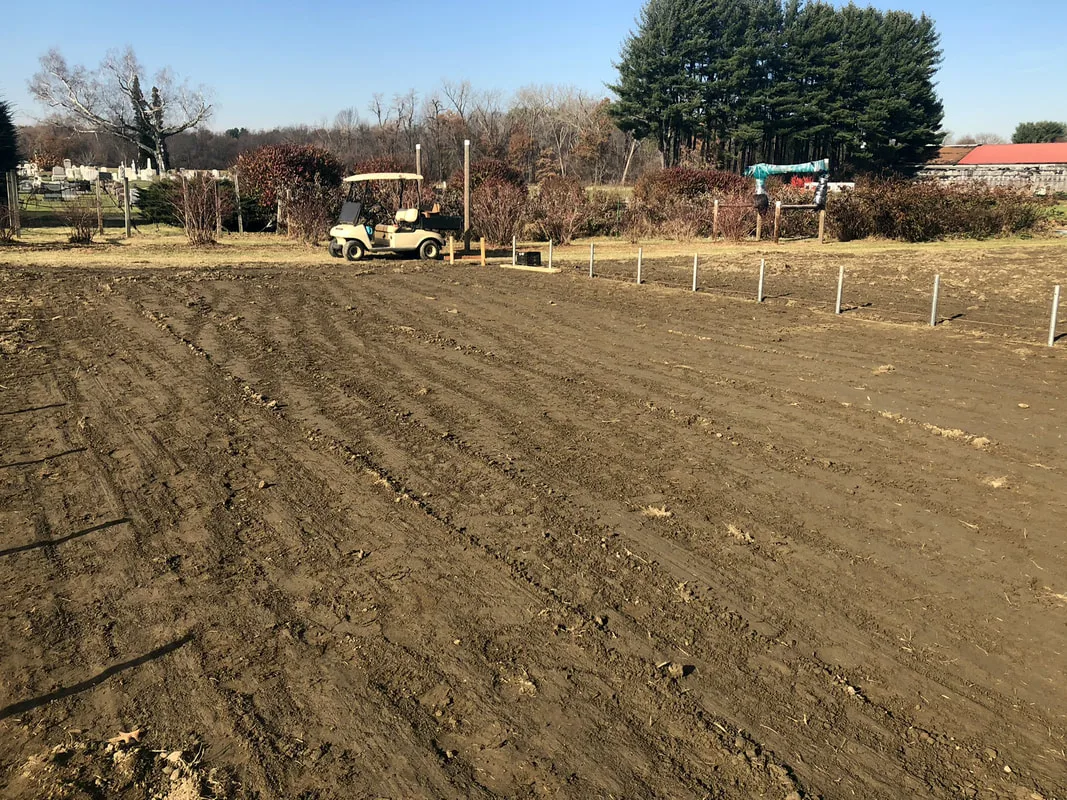
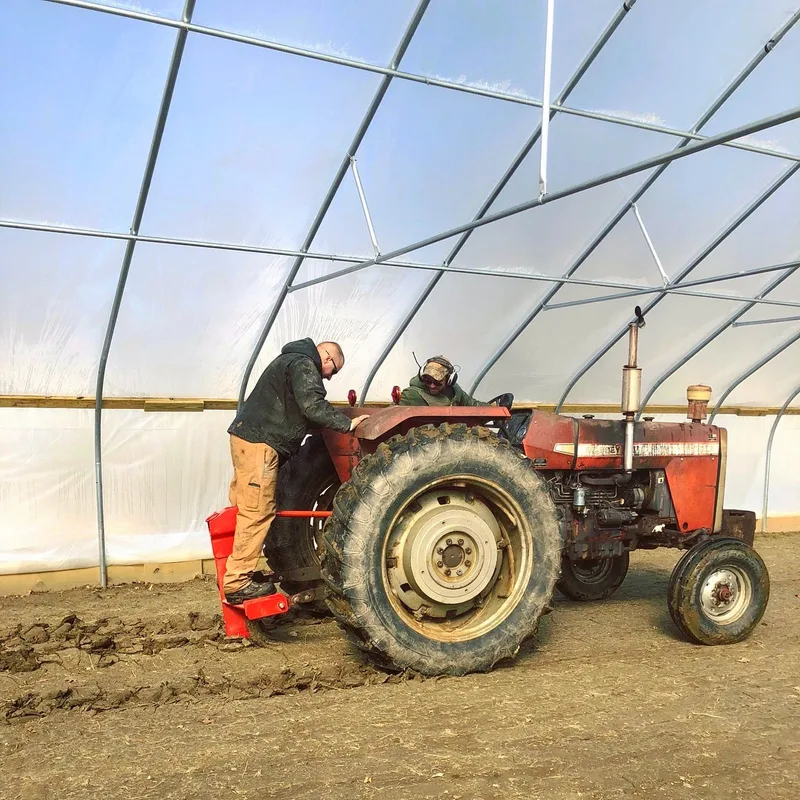
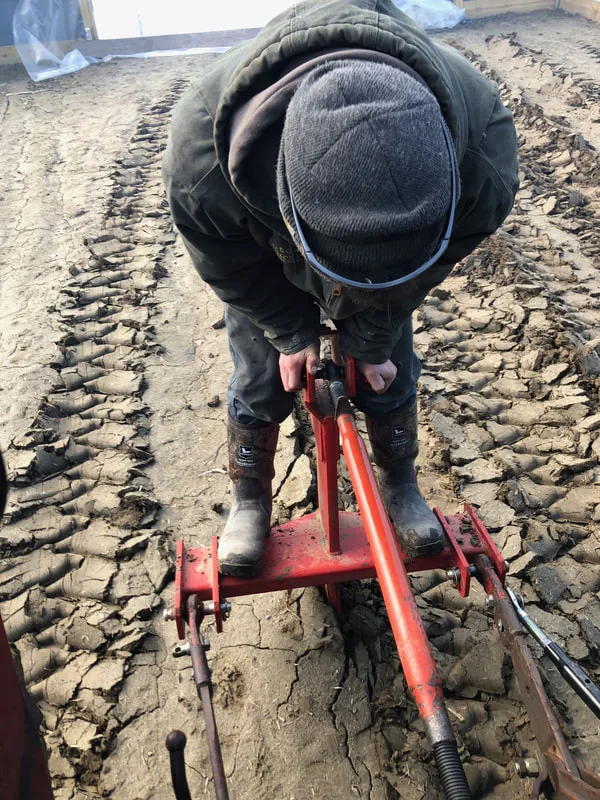
    Now that we had adequate warmth, we switched gears and put some actual farming into play! We started a cover crop! With the help of a few friends we subsoiled the ground intensely to break up the hard pan we created from leveling the land.
    • Side view of subsoiling
    • Jake helping get the subsoiler deeper
    • Subsoiled land
    • Rototilled before seeding
    • After seeding in cover crop
    • Germination!
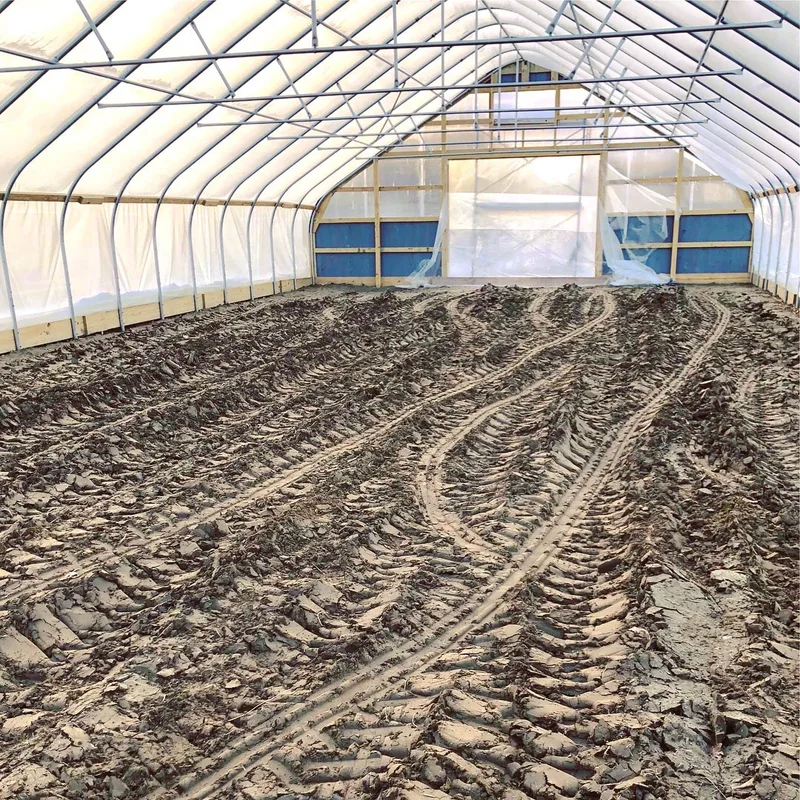
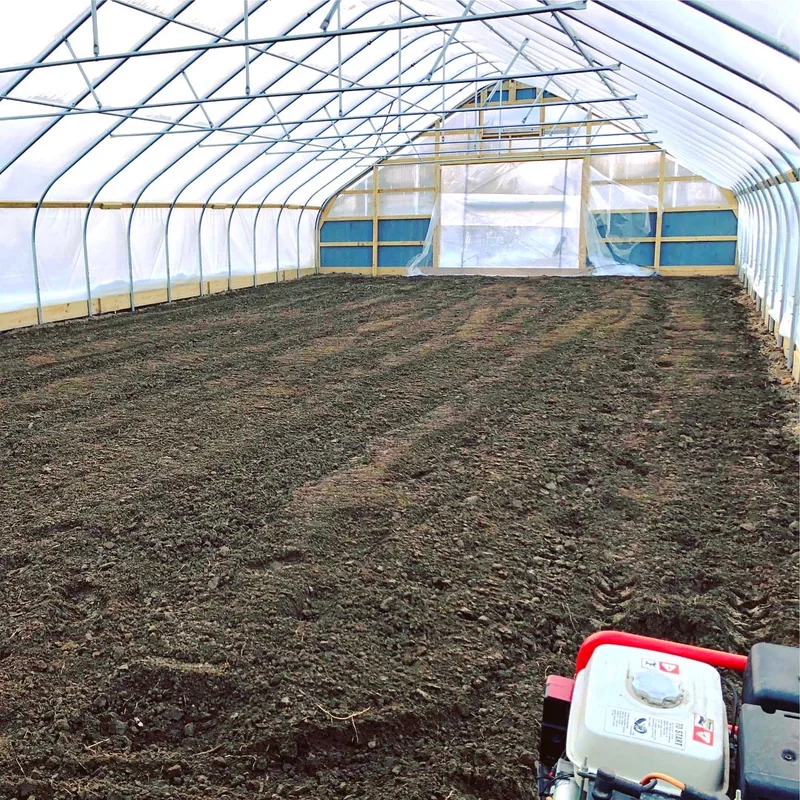
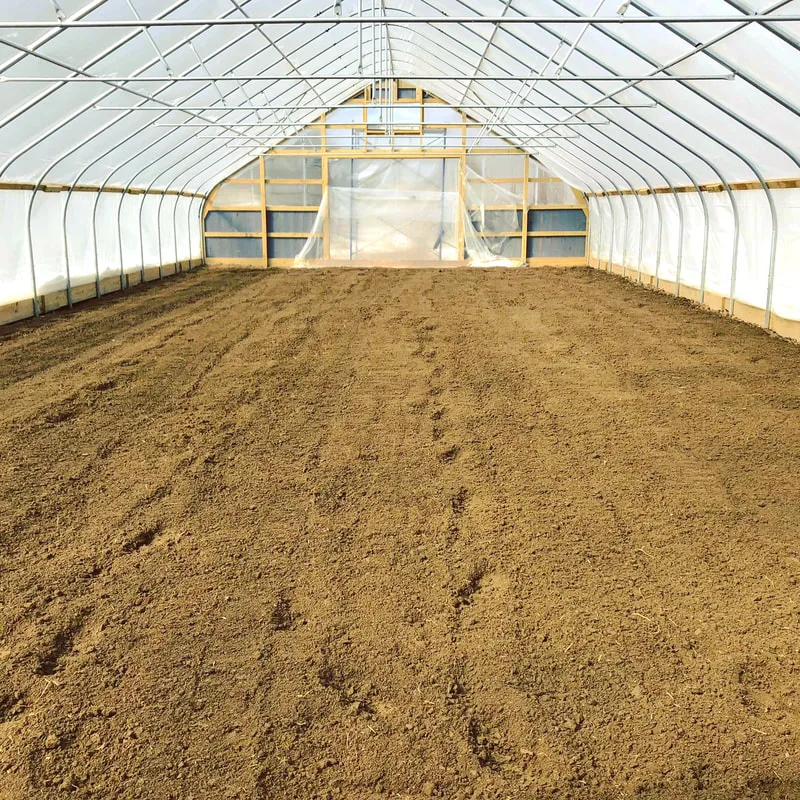
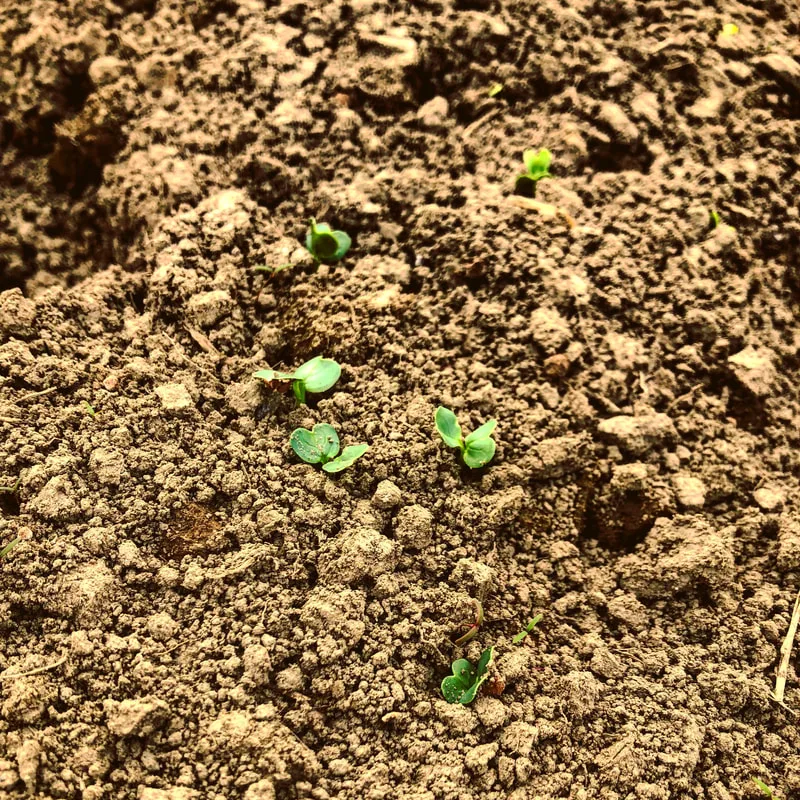
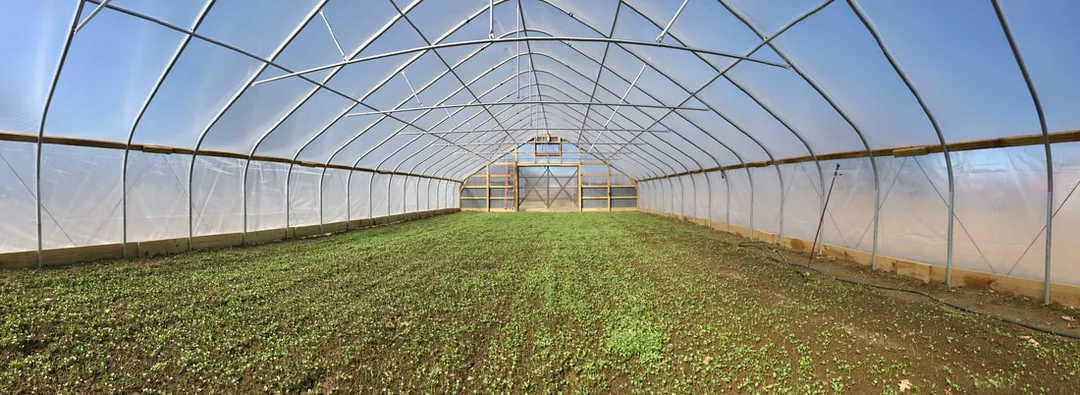
    We rototilled the soil and seeded "Peas, Oats, and Radish" into the ground along with some fertilizer and lime. Within a few weeks we had germination and it's looking great!
    Picture
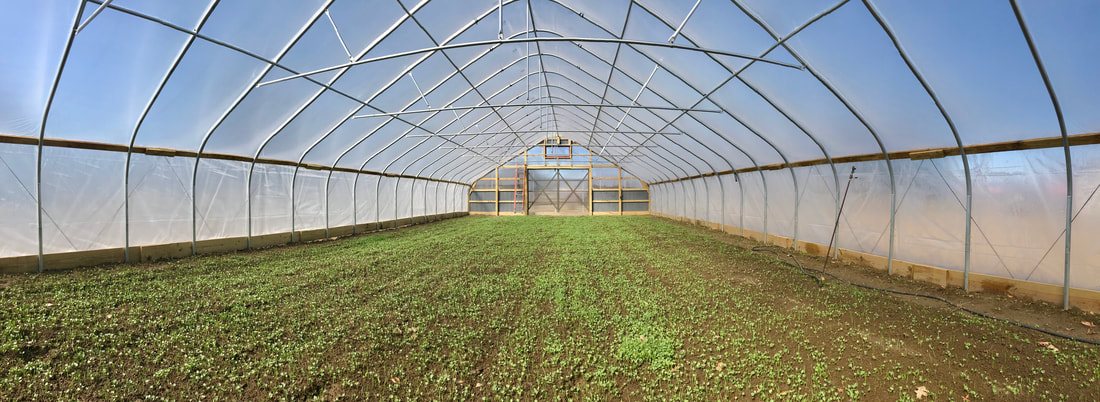
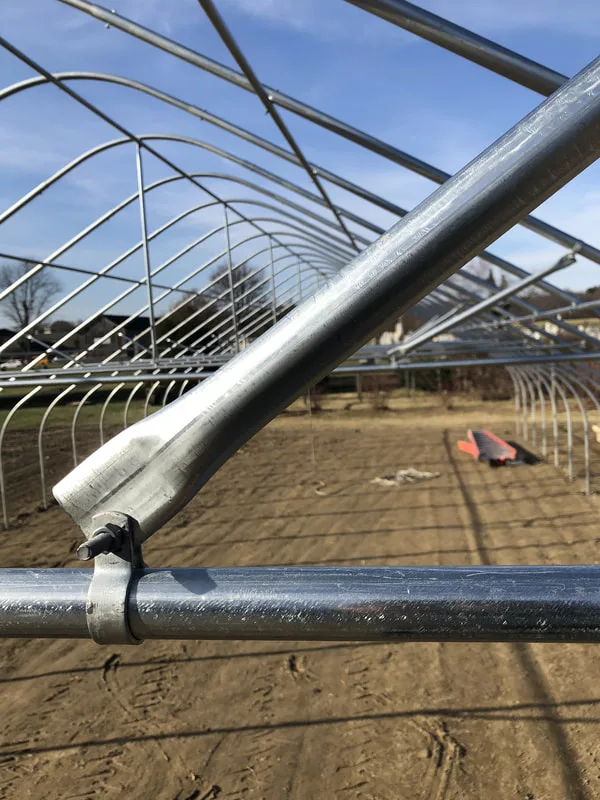
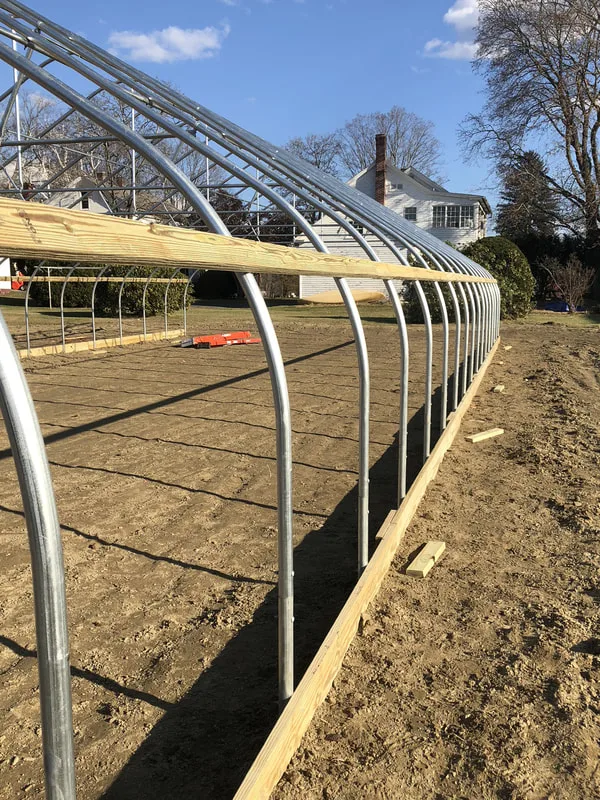
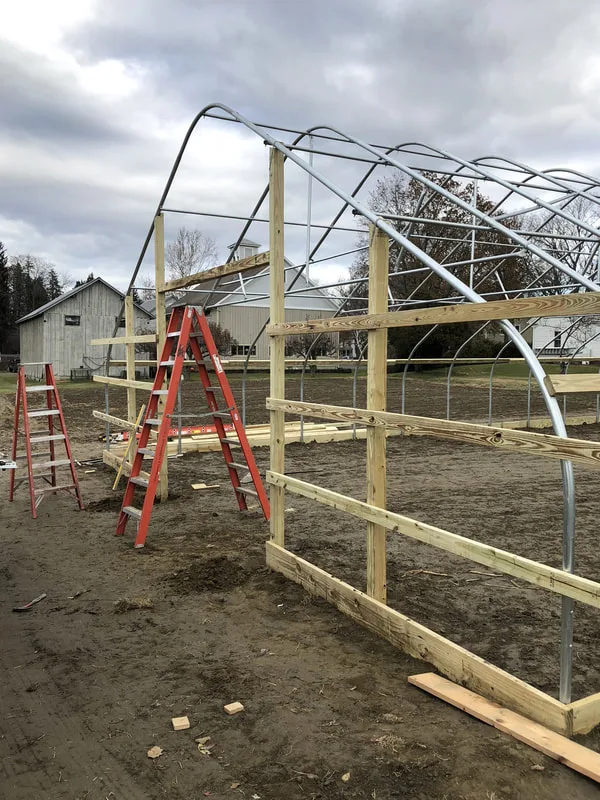
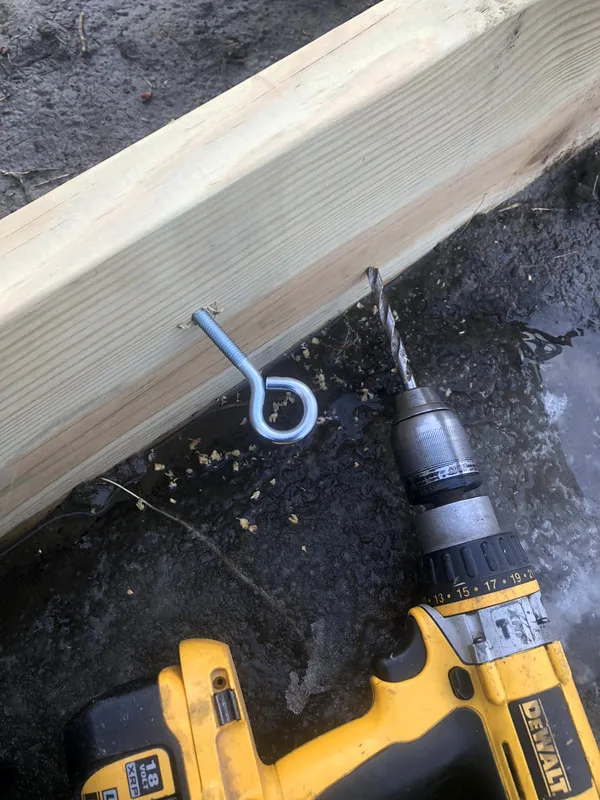
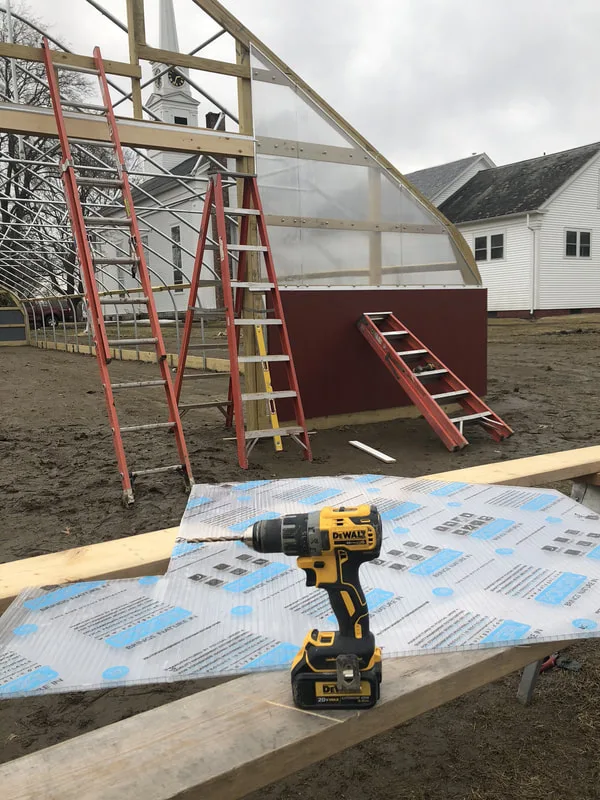
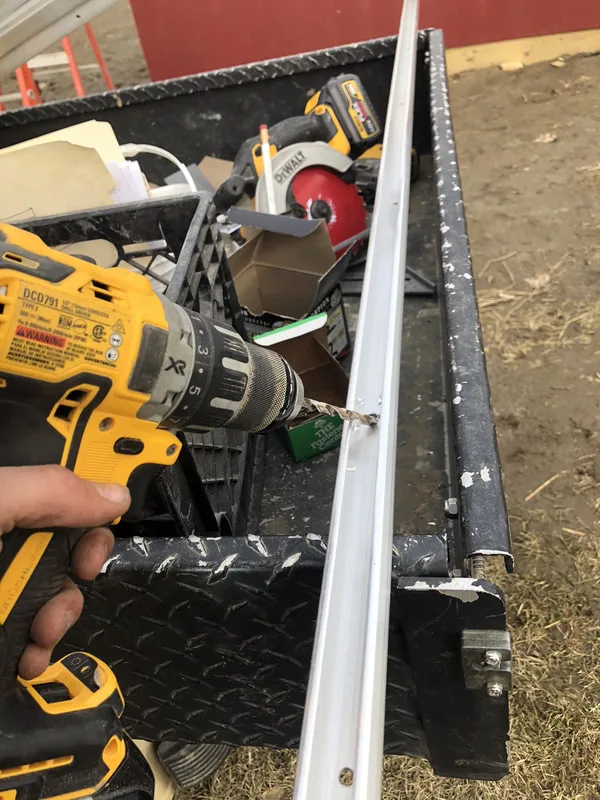
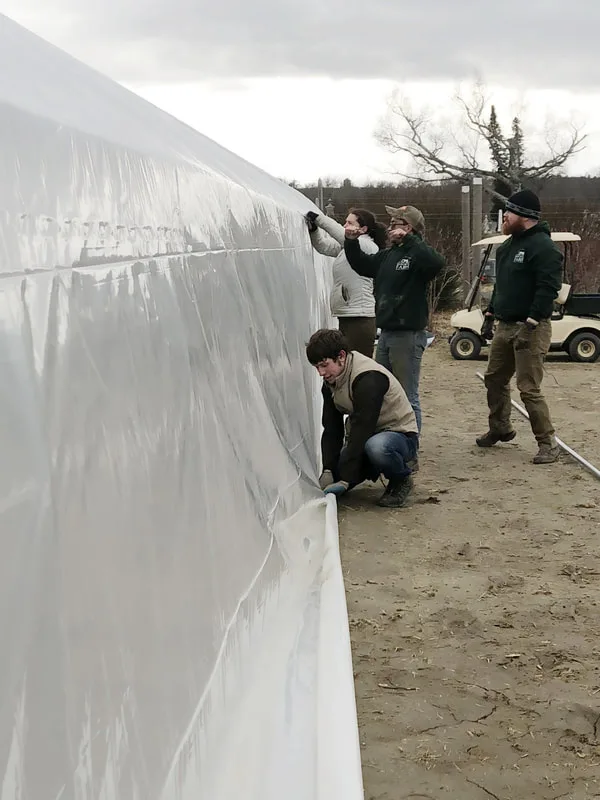
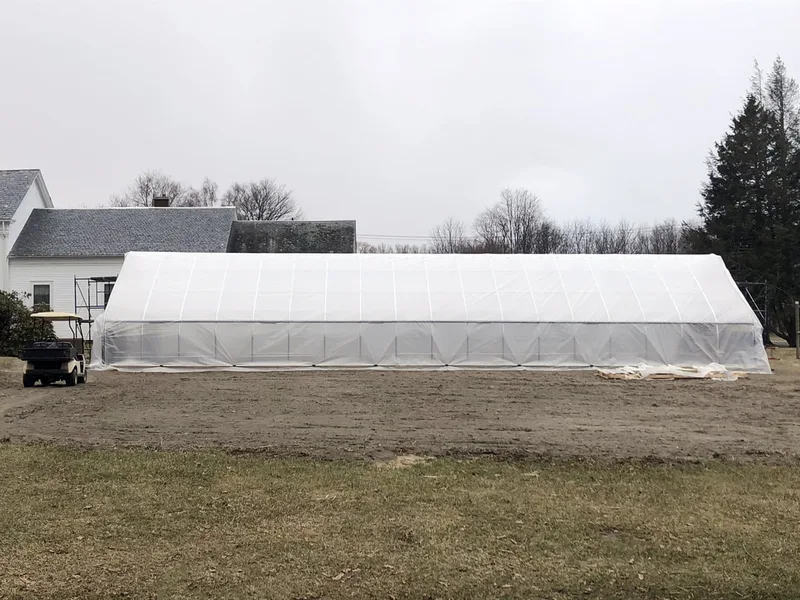
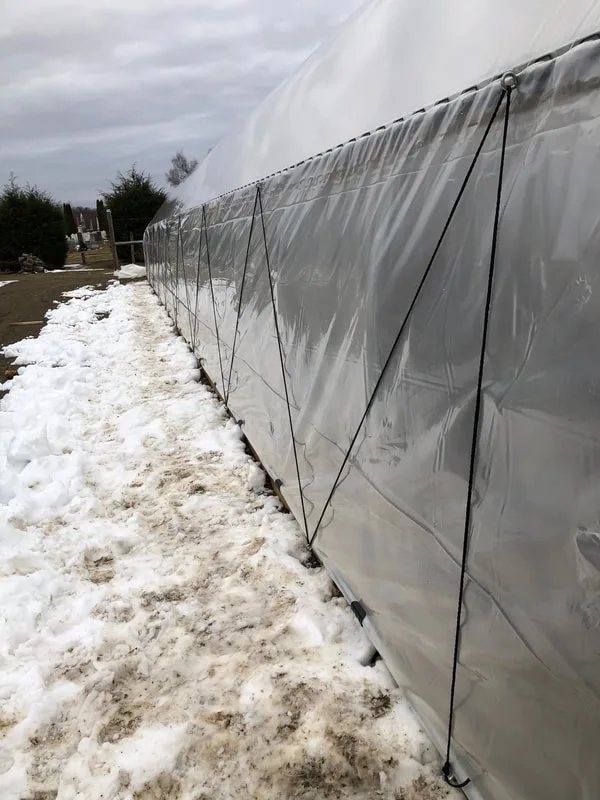
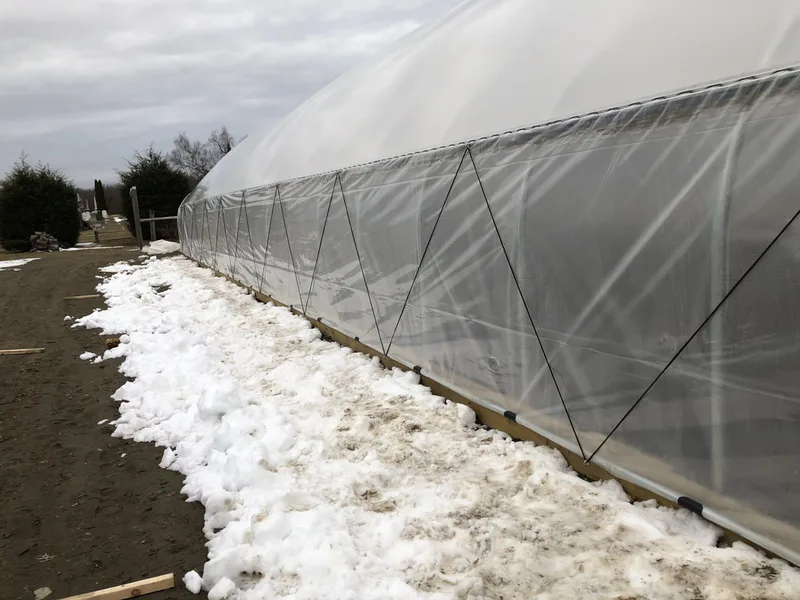
    Ok back to the actual high tunnel... we spent a few days working on the roll up sides, installing the eyebolts, and adding rope to keep the sides from moving. 

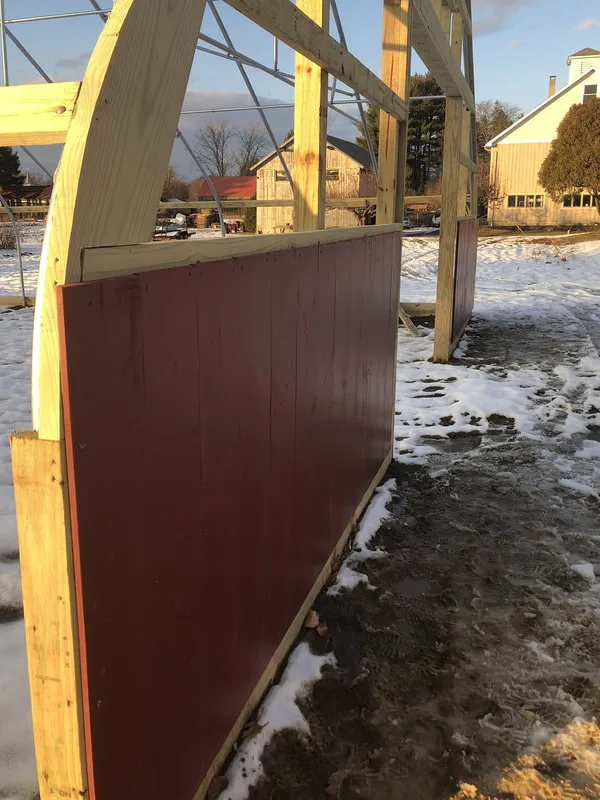
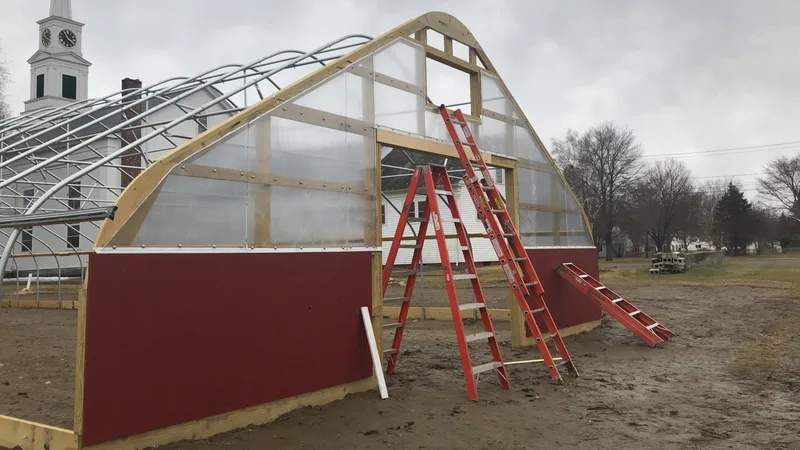
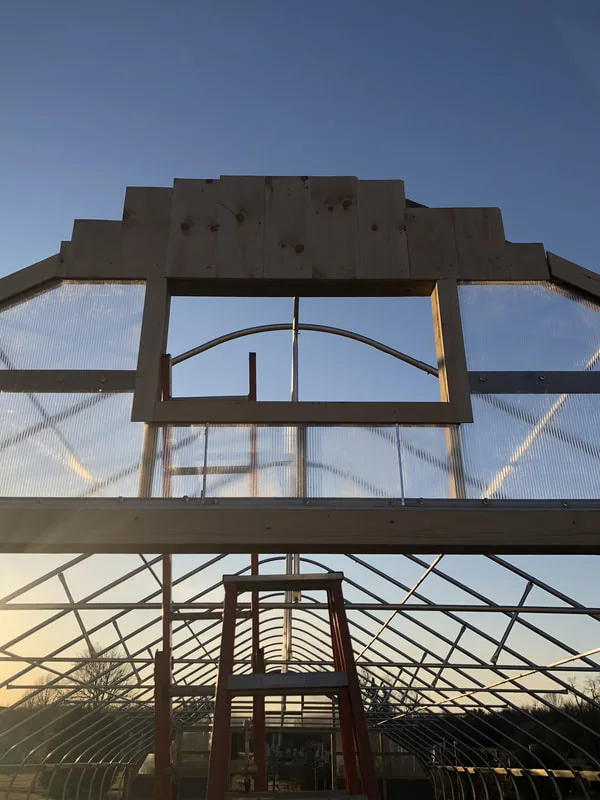
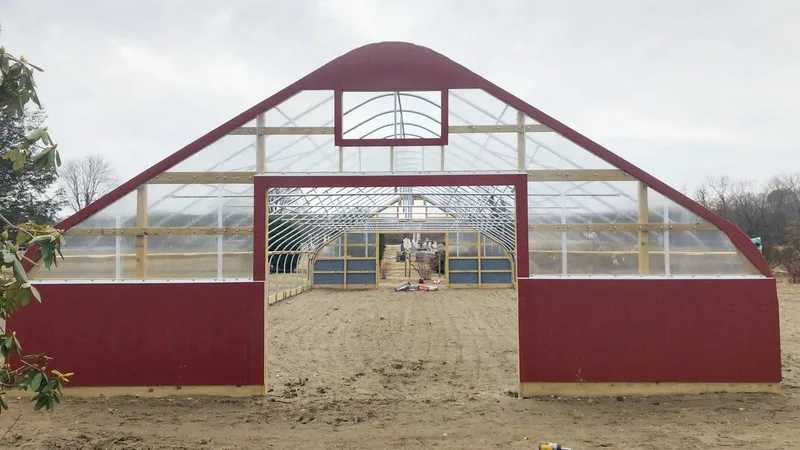
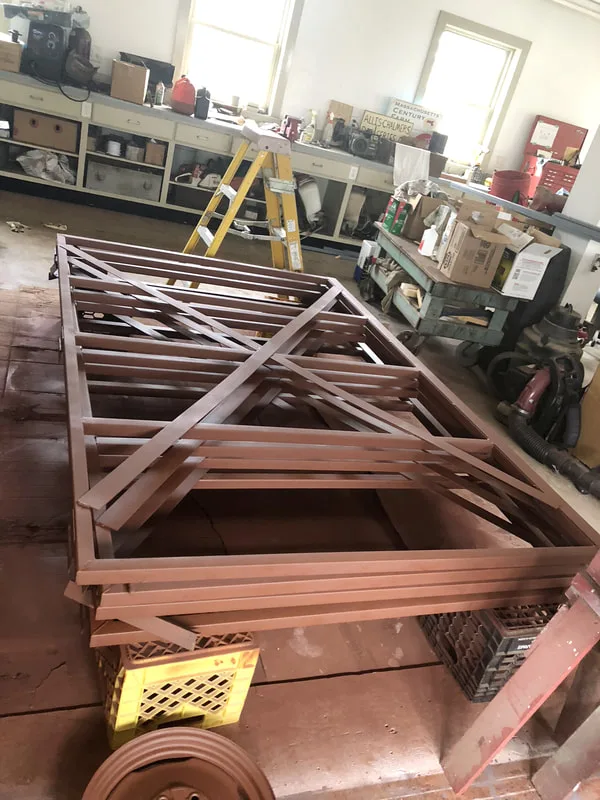
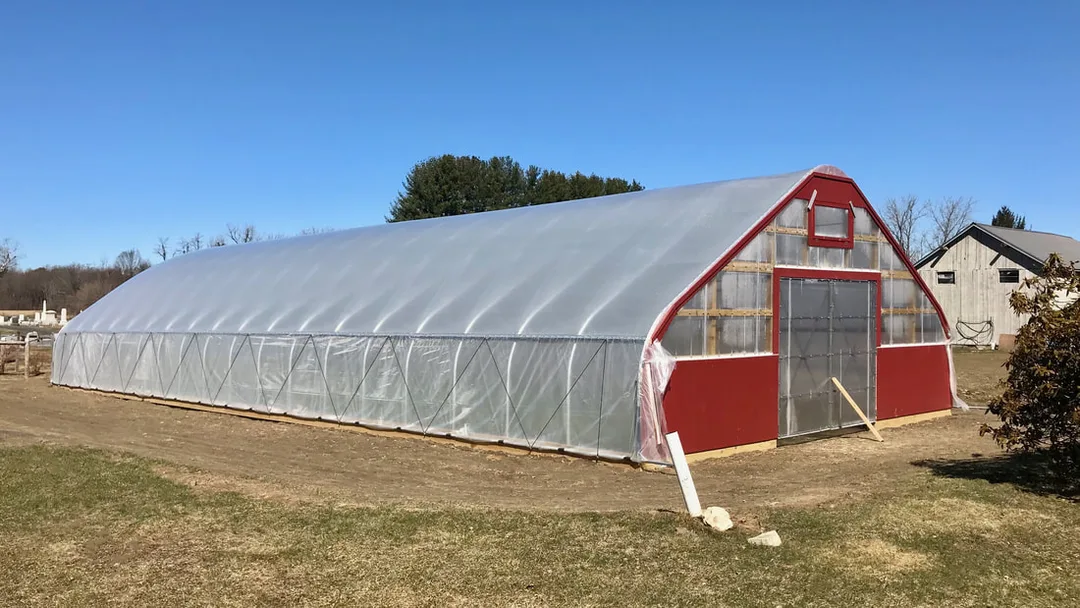
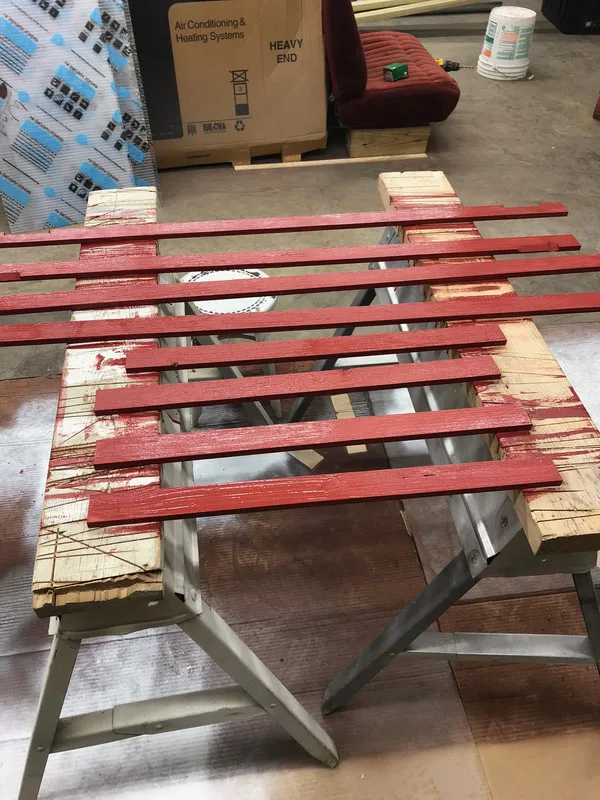
    After that was complete, we came back to the end walls. My dad and I attached final trim board and fastened the plastic with wiggle wire for extra protection. A huge thank you to my father (who still thinks we are building a house and everything has to be precise) for giving it the classic farm look in barn red. To say the least it came out better than imagined!
    • Role for roll upsides
    • Putting up trim board with my father
    • Blown up plastic and all up sides
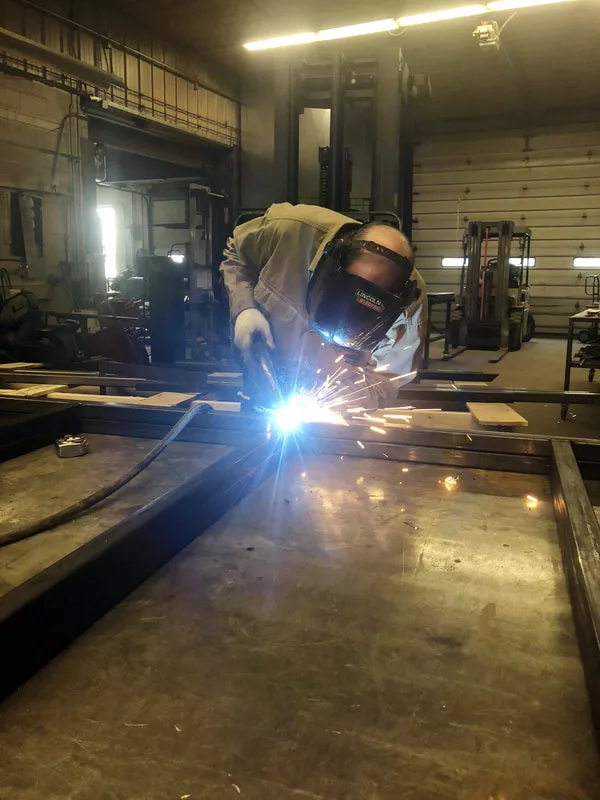
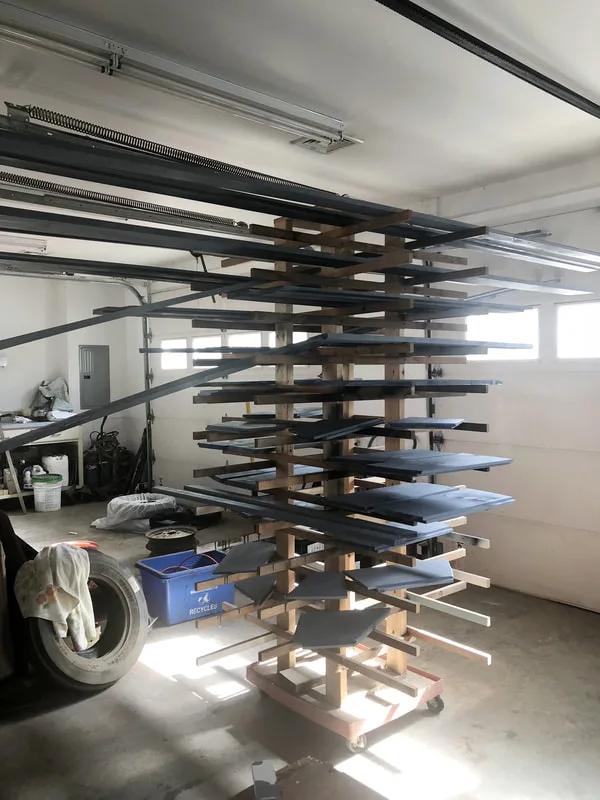
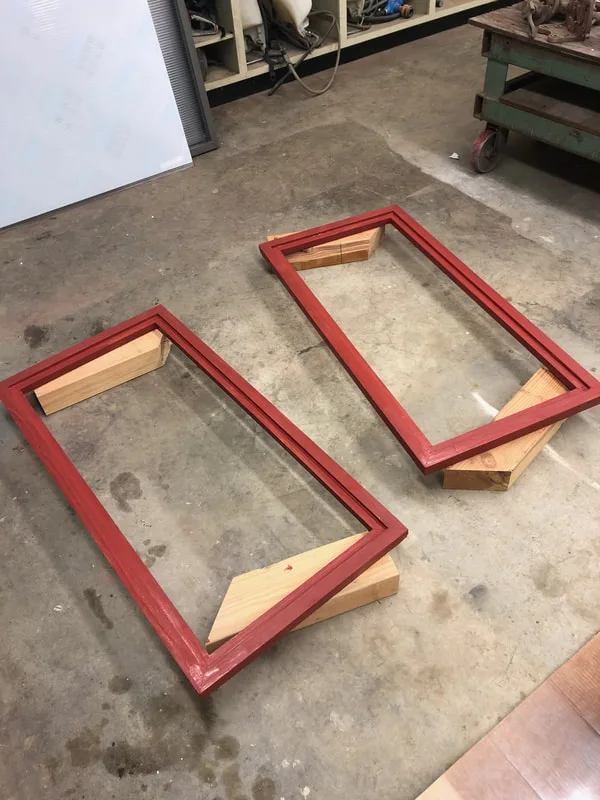
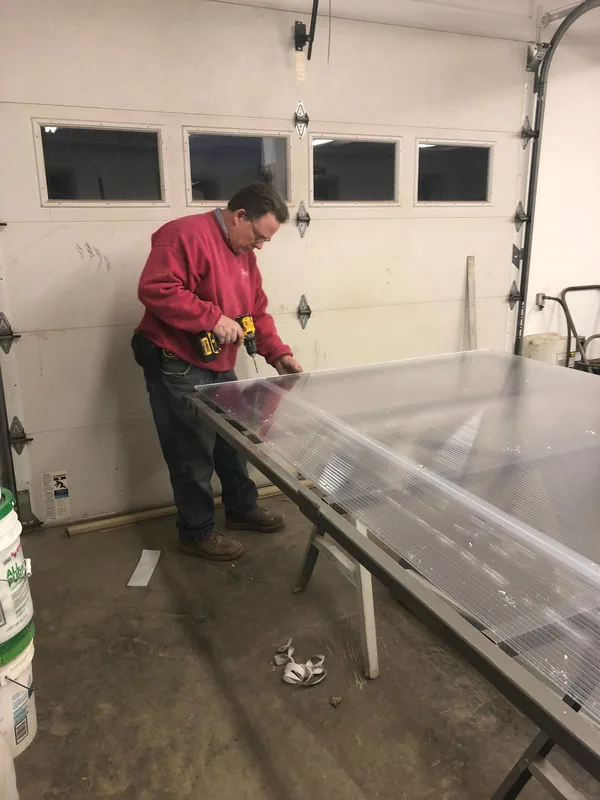
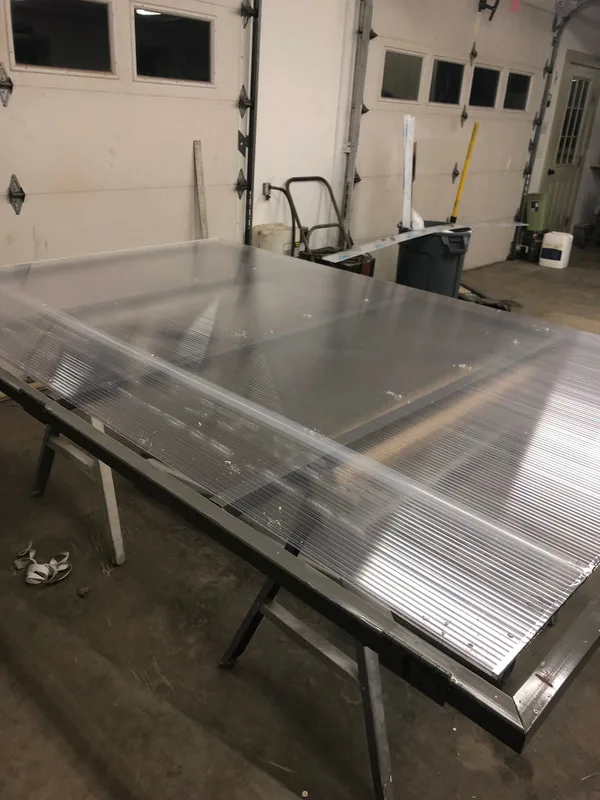
    The end wall doors and vents were the project finishing pieces. We fabricated the doors in the shop by cutting, mounting, and fastening polycarbonate sheet to them. We also built the vent windows in the shop as well, painted them up and attached polycarbonate. Everything came out perfect! 
    • Window vents painted
    • Trim for windows!
    • Pulley system for vent
    • My father drilling holes to to mount doors
    • Getting ready to mount polycarbonate to doors
    • Finished product
    • Hanging doors
    • Inside view of doors
    • The finished product!
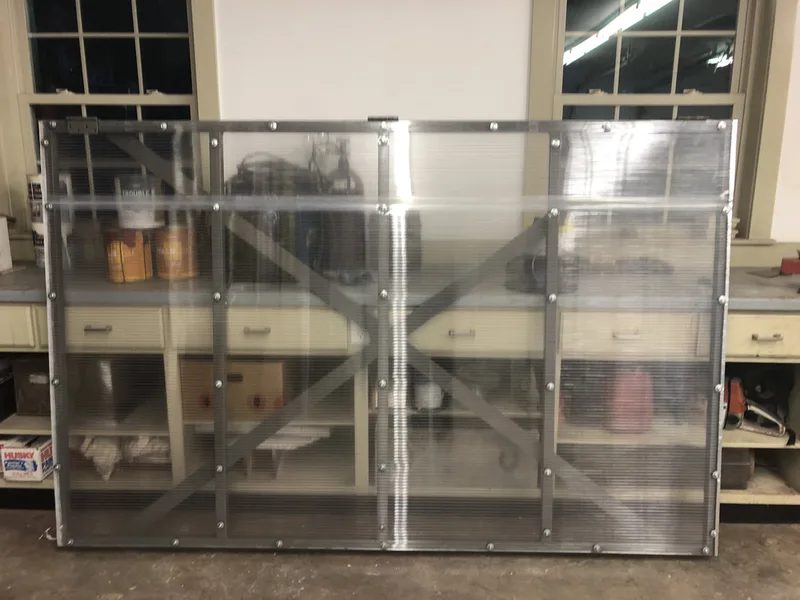
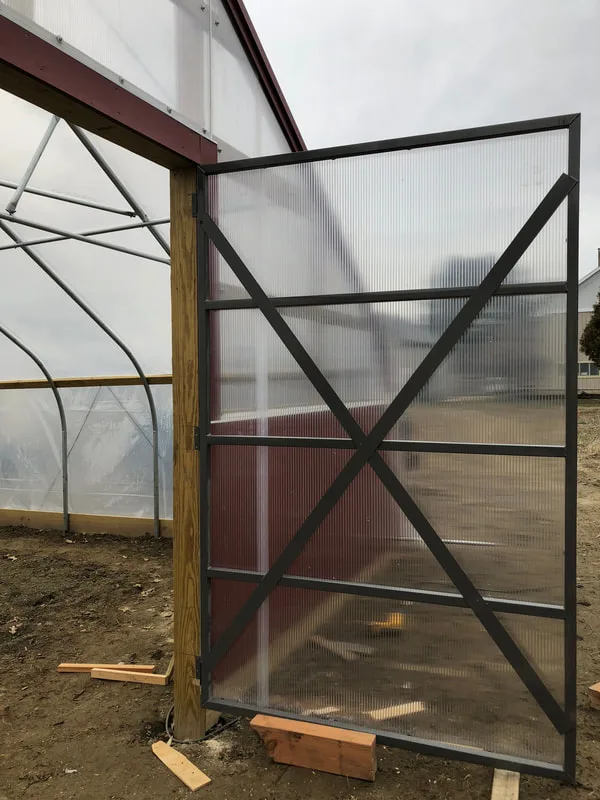
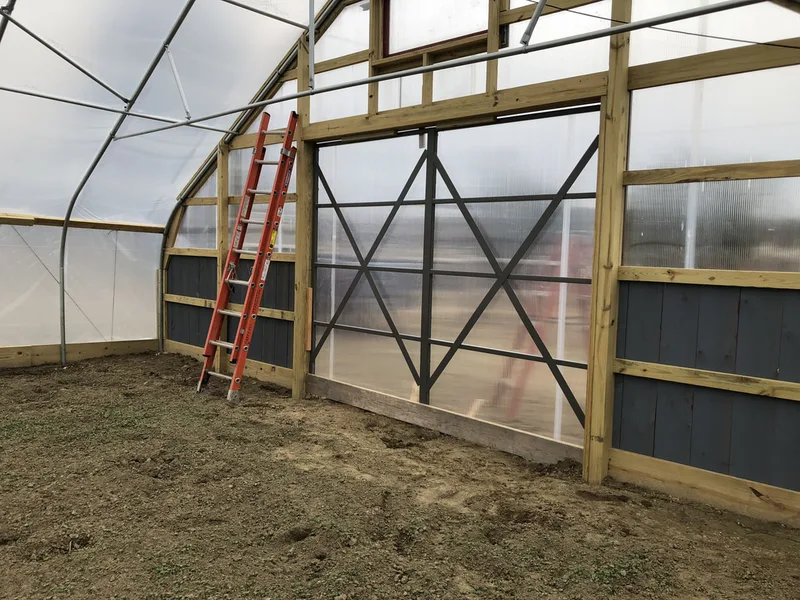
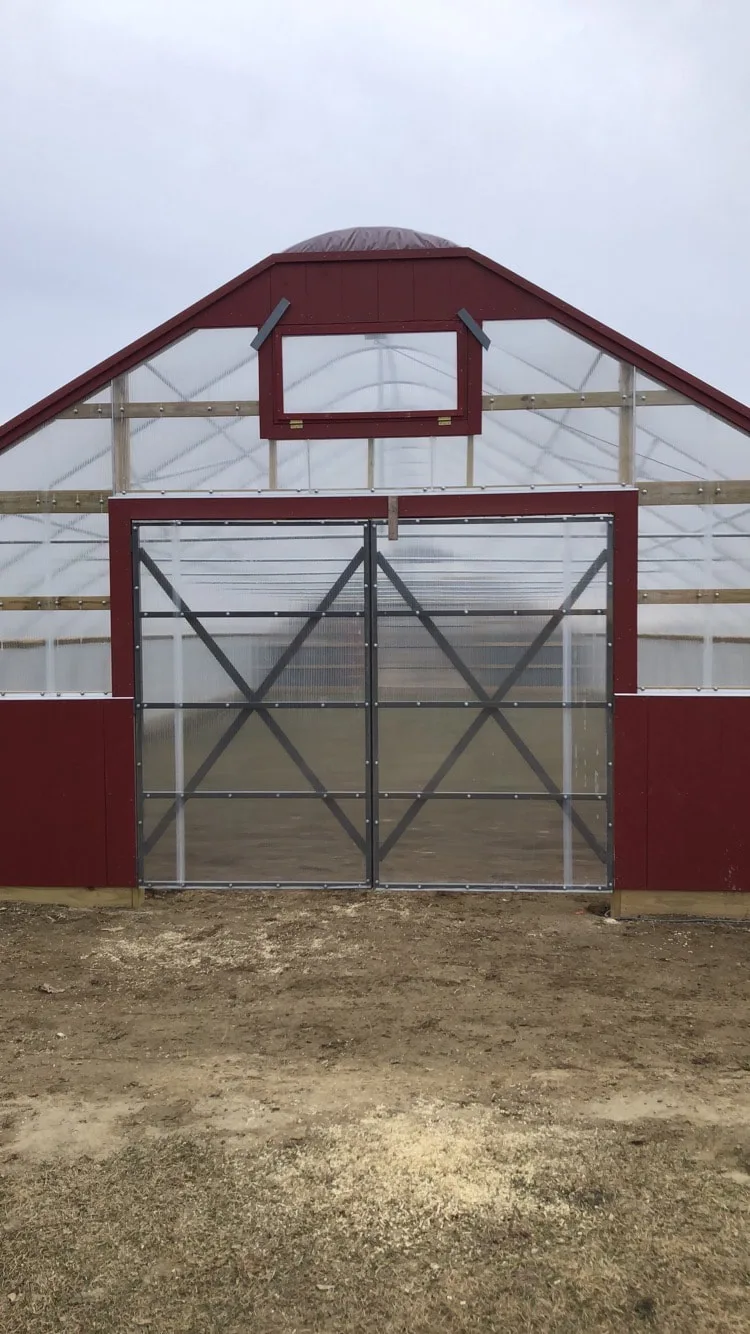
    Lastly, we mounted the vents and doors to the end walls with the hinges. This took some expertise because of the slight ground movement from the frost over the winter. The structure finally looks complete.
    Picture
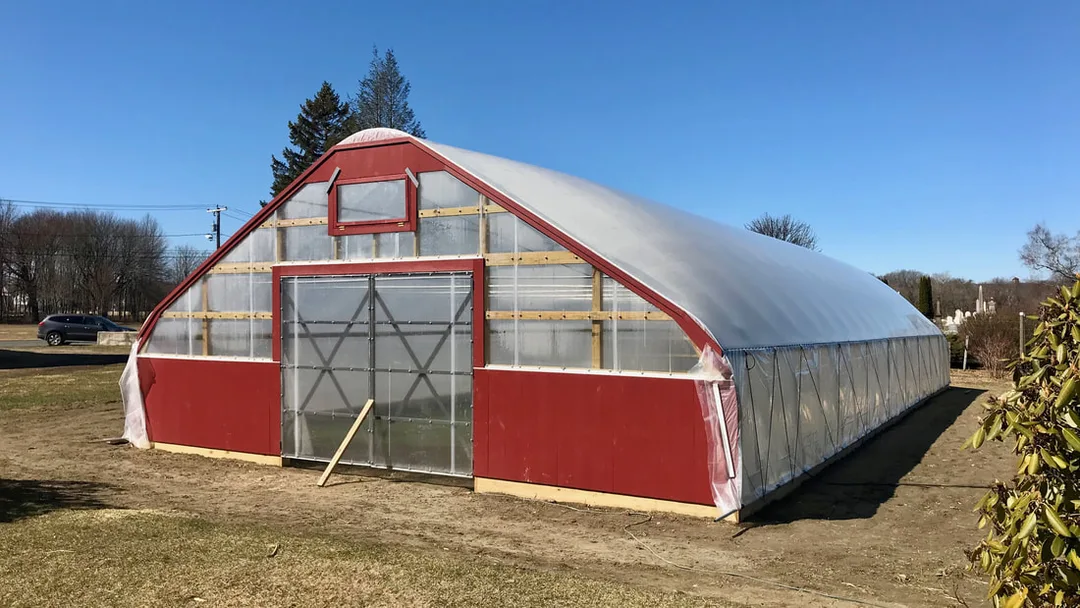
    Happy to be moving forward with irrigation, and electrical. Soon we will be planting... we are counting the days and it can't come soon enough!

    ​Stay tuned to Part 3 of the High Tunnel Project. As always thank you for reading and all of your support!
  • Published on
    March 20, 2018

    Spring is Here!

    General homegrown-news
    Picture
    It's been a long active winter, but things are looking up, today is March 20th and the first day of spring! So we may be getting a little snow tomorrow, no big deal right?

    Like you, we are so ready for this cool weather to break and the snow to finally stop. We're looking forward to warmer days and finally breaking ground.


    Even though it's cold, Bardwell Farm is busy at work and we are counting down the days. We're tuning-up all of our equipment. The high tunnel is almost complete and ready for operation. Seeding of the first crops that you will see on the stand come May all begins soon! 

    What we will be talking about in the days to come...
    • seeding in the greenhouse
    • working in the high tunnel
    • field prep, sub soiling and plowing

    Here's to season 2018 and a Happy Spring to all!
  • Published on
    March 7, 2018

    The High Tunnel Project: Part 1

    Education homegrown-news
    We are so excited about our new high tunnel! Wait, what? You're not really sure what a high tunnel is? Let me tell you all about it...

    A high tunnel is a non permeant structure that is used for growing crops in the soil and/or raised beds. It's primarily used to extend the growing season by having a controlled growing environment. This new system will give Bardwell Farm the capability to grow a quality crop much longer.

    As many of you know we started this project back in November as we were closing for the season. We started by laying out the demensions on the land where the structure was going to sit. This was a process of applying the dimensions, then grading and leveling the land to make it as flat as possible. It's important to build the structure level and true, it makes a world of difference and helps the building process go that much smoother. 
    • Materials ready to be installed
    • Making way for the new high tunnel
    • Grading the land
    • Laying out the poles
    After the leveling process we lined-up 4 foot pipes that would make the base of the structure. These were spaces every 4 feet in a row on each side of the field. The pipes were pounded about 2 feet into the earth to create the foundation for the high tunnel. 
    Picture

    Ground level and ready for bows

    Frame bows were assembled off site then brought in to be put in place. The bows were so light three of us were able to pick them up and slide them into place. Once completed we tied the structure together using purlins, cross ties, and corner braces. These were all bolted together to make it solid.
    • Bows are up
    • The old guys hard at work
    • Cross tie assembly
    • Phase 2 complete!
    This part of the project went up fast! We encountered some challenges with end wall design and bad weather hindering progress. It slowed us down a bit, but didn't halt our work. We decided to use 4X4" posts as structural supports to hold the end walls to the ground and structure. It's quite difficult working with round metal pipe and wood. We finally came up with the perfect design plan to build these end walls. The lower half is going to be shiplap boards and the top will be a polycarbonate double layer honeycomb hard plastic that will allow light into the structure. 
    • Hip boards and base boards are up
    • 4x4 posts are in and wall framing going up
    • Shiplap finish installed
    • Eyebolt for the roll-up sides
    • Workin' until dark
    • Polycarbonate installation
    • 90% of the end wall complete
    • Fitting trim to the end walls
    • Finished product!
    • Welding end wall doors
    • Painting the trim boards
    • Painting end wall doors
    Once the doors are mounted on to the end walls the next step is putting the plastic on the roof. This is a BIG TASK! We'll need a good size crew of people. A double layer of plastic will be added to the rough of the structure. One is an infrared plastic to capture sunlight and hold in heat. The top layer of plastic is clear to let sunlight in. Lastly, near the roof, a small blower fan will be installed to create an air gap between the two plastic layers. This is used to make an insulation layer to help retain heat inside the high tunnel during cold parts of the spring and fall seasons.
    • Drilling channel for wiggle wire
    • Rolling out first layer of plastic
    • Rolling out second layer of plastic
    • Flaking out plastic
    • Working installation from the end walls
    • Giving direction on the next step
    • Installing wiggle wire
    • Plastic roof installed
    • Installing wiggle wire on ridges
    • Bossman reading plans
    • Plastic installation complete!
    The last step is adding the irrigation system and horizontal ventilation fans to create the most efficient environment for growing our crops. I cannot wait to finish this up, we are so close!

    Thanks for reading and stay tuned for The High Tunnel Project: Part 2 coming end March.
1 of 1
#BARDWELLFARM

DIRECTIONS

GOOGLE MAPS

SITE MAP

49 MAIN
HARVEST CASH CARD
GIFT CARDS
HOMEGROWN NEWS
ABOUT
CONTACT
​
NEWSLETTER
WHOLESALE
EMPLOYMENT
CARROTS 2 CARROTS
​SWAG
​FAQ

SEARCH

STAY CONNECTED

Picture
Picture
Picture
©2022 BARDWELL FARM, ALL RIGHTS RESERVED
POWERED BY ROCKET