
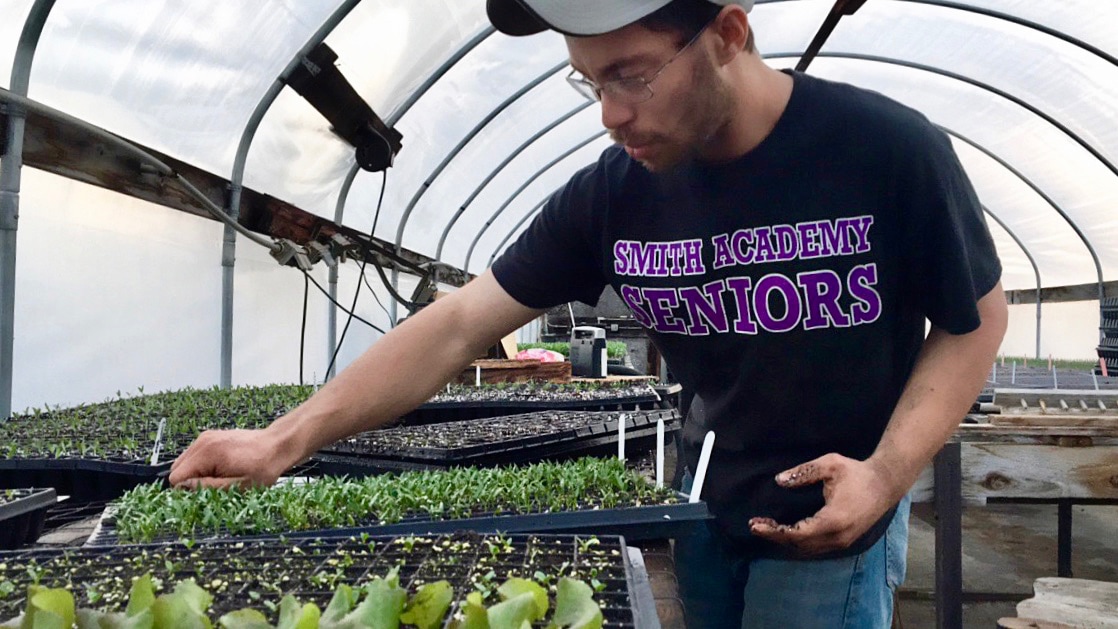
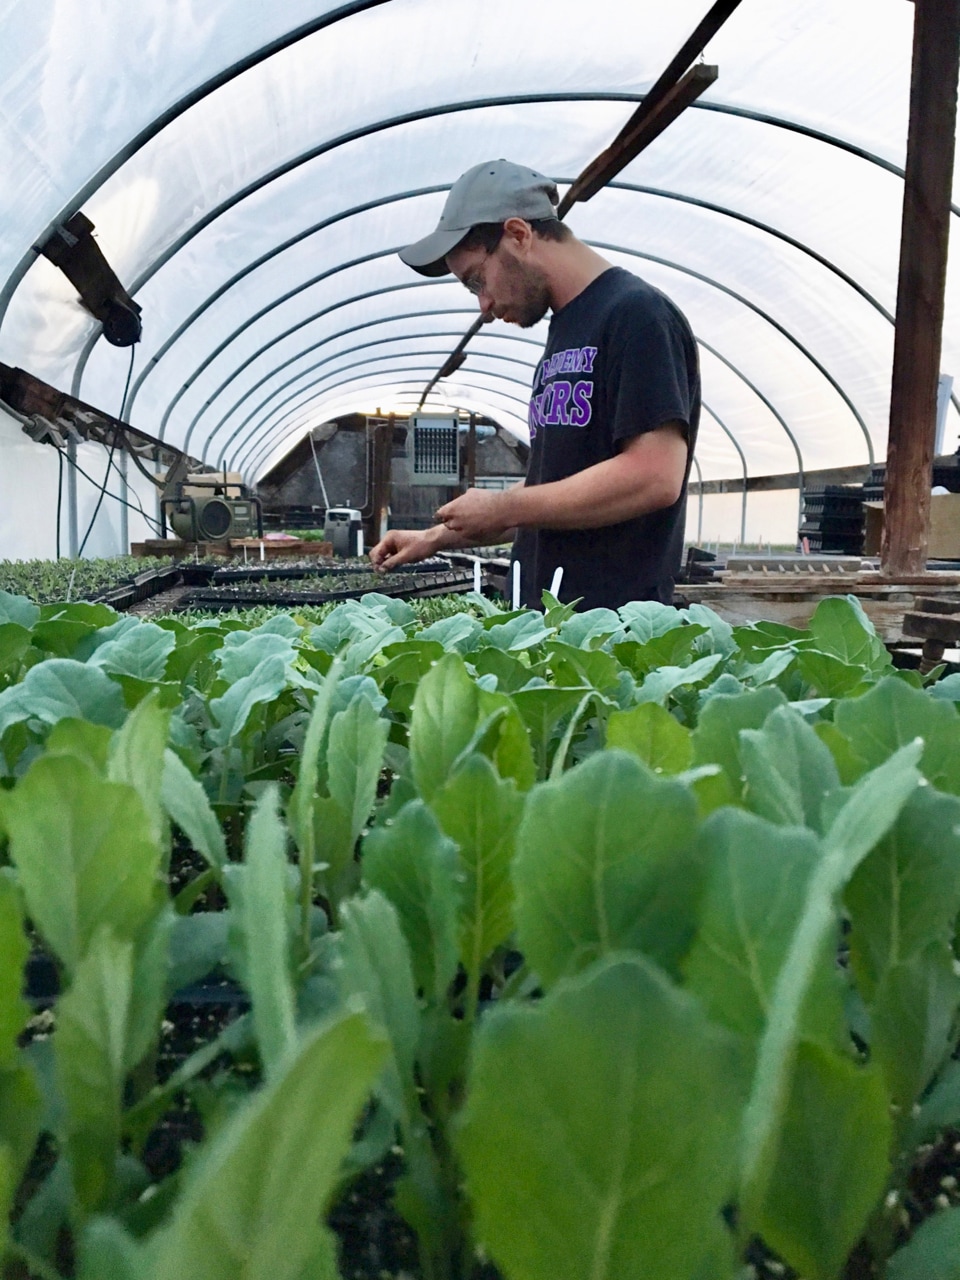
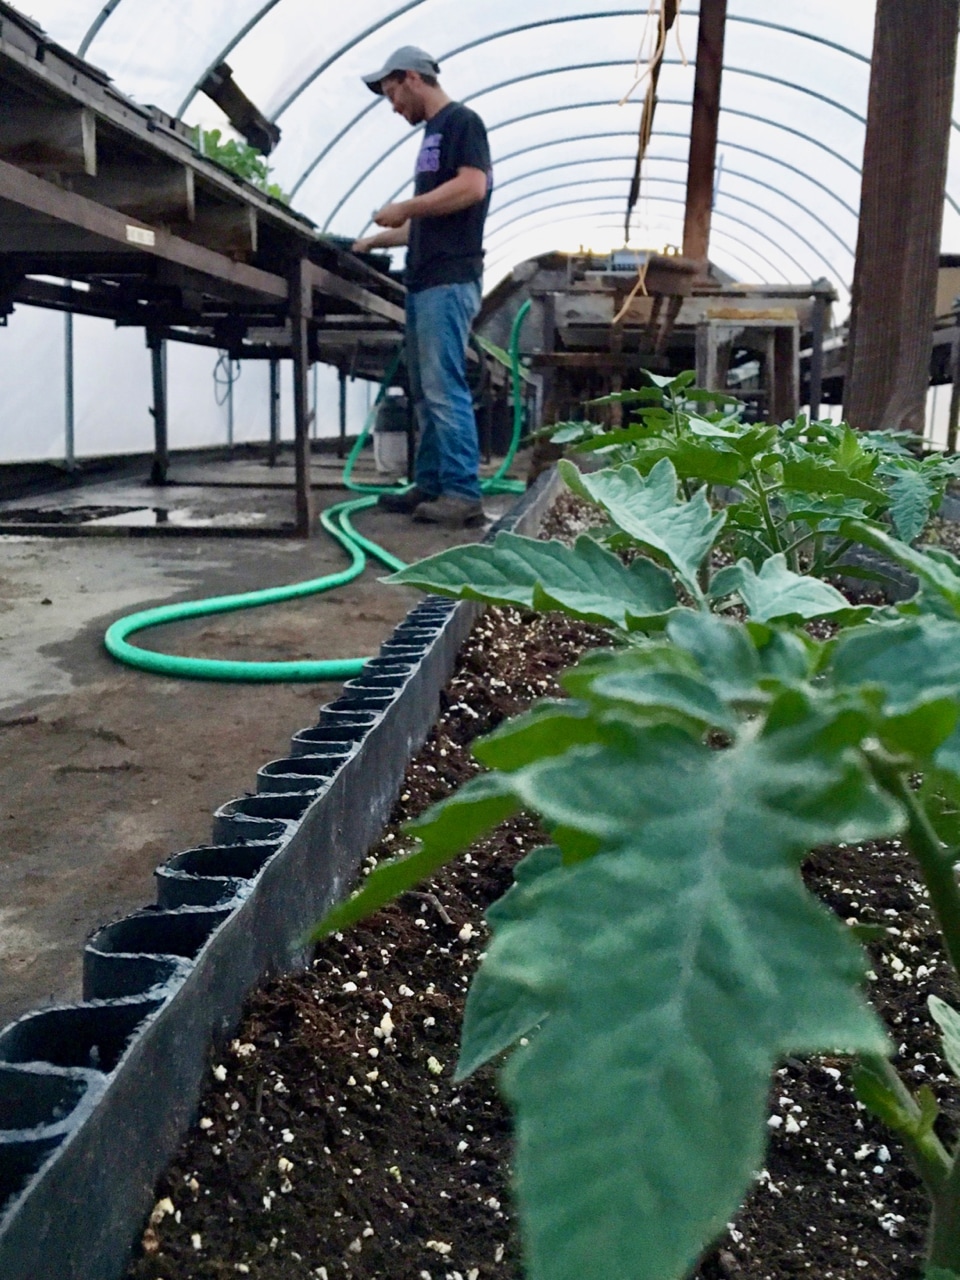
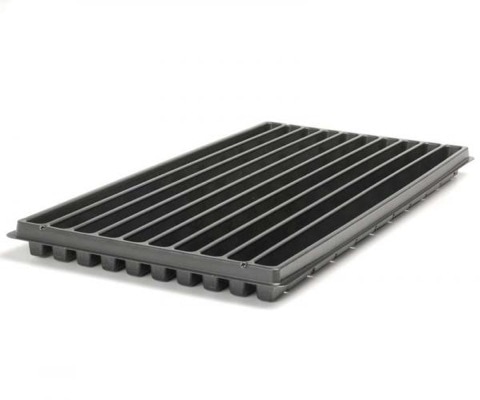
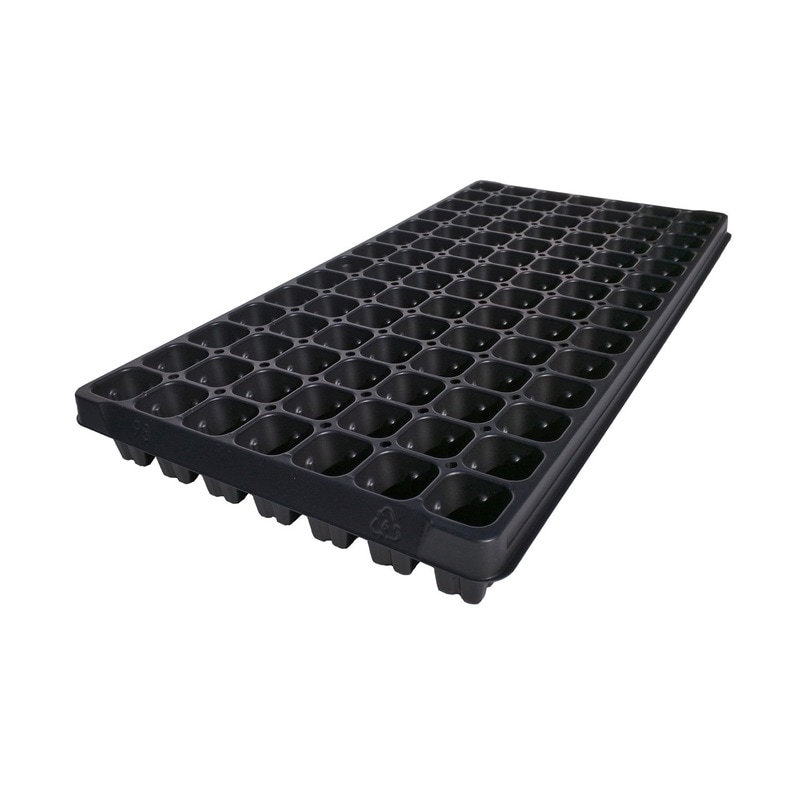
 Last night I was in the greenhouse transplanting eggplant seedlings from row trays into cell trays. The Classic and Nubia varieties looked great since seeding them! "The tiny seed knew that in order to grow, it needed to be dropped in the dirt, covered in darkness, and struggle to reach the light." - Sandra King Because seeds don’t have a 100% germination rate we transplant seedlings into cell trays to ensure we have perfect germination before going into the field. We want to have accurate seedling numbers to plan the field layout. The plants will grow more effectively and can also be monitored more easily. Seedlings are planted with one root shoot to make it easier when transplanting into the smaller cells. We use a wooden hole punch to make a place to plant seedlings. Peppers are next on the greenhouse schedule, more behind the scenes to come! If you want to learn a little more about our tray system and germination, continue on below.  Germination is the development of a plant from a seed or spore after a period of dormancy. What is seed germination? When a seed is covered with soil, it can begin germination. Germination is the process of seeds developing into new plants. Environmental conditions must trigger the seed to grow. This is determined by how deep the seed is planted, water availability, and temperature. When moisture is plentiful, the seed fills with water in a process called imbibition. The water activates special proteins, called enzymes, that begin the process of seed growth. First the seed grows a root to access the moisture. Next, the shoots, or growth above ground, begin to appear. The shoot on the surface of the soil will grow leaves, where it will harvest energy from the sun. The leaves continue to grow towards the light source in a process called photomorphogenesis. For more Homegrown News subscribe to my newsletter!
Like or Tweet this article to a friend by clicking the badges below. Thank you for your support.
0 Comments
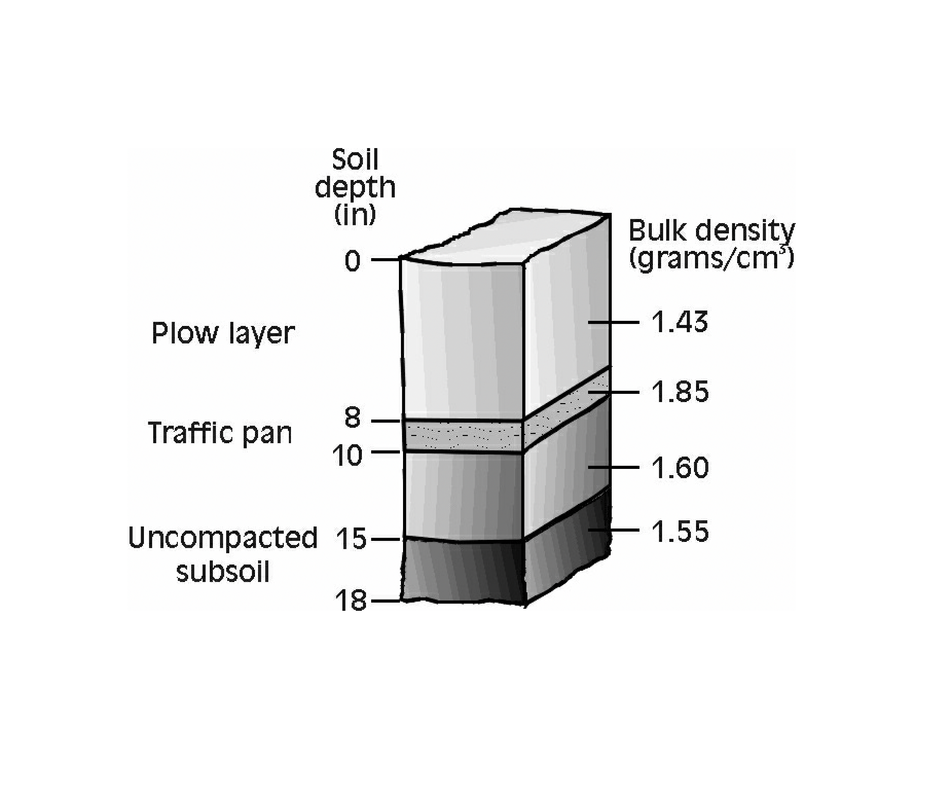
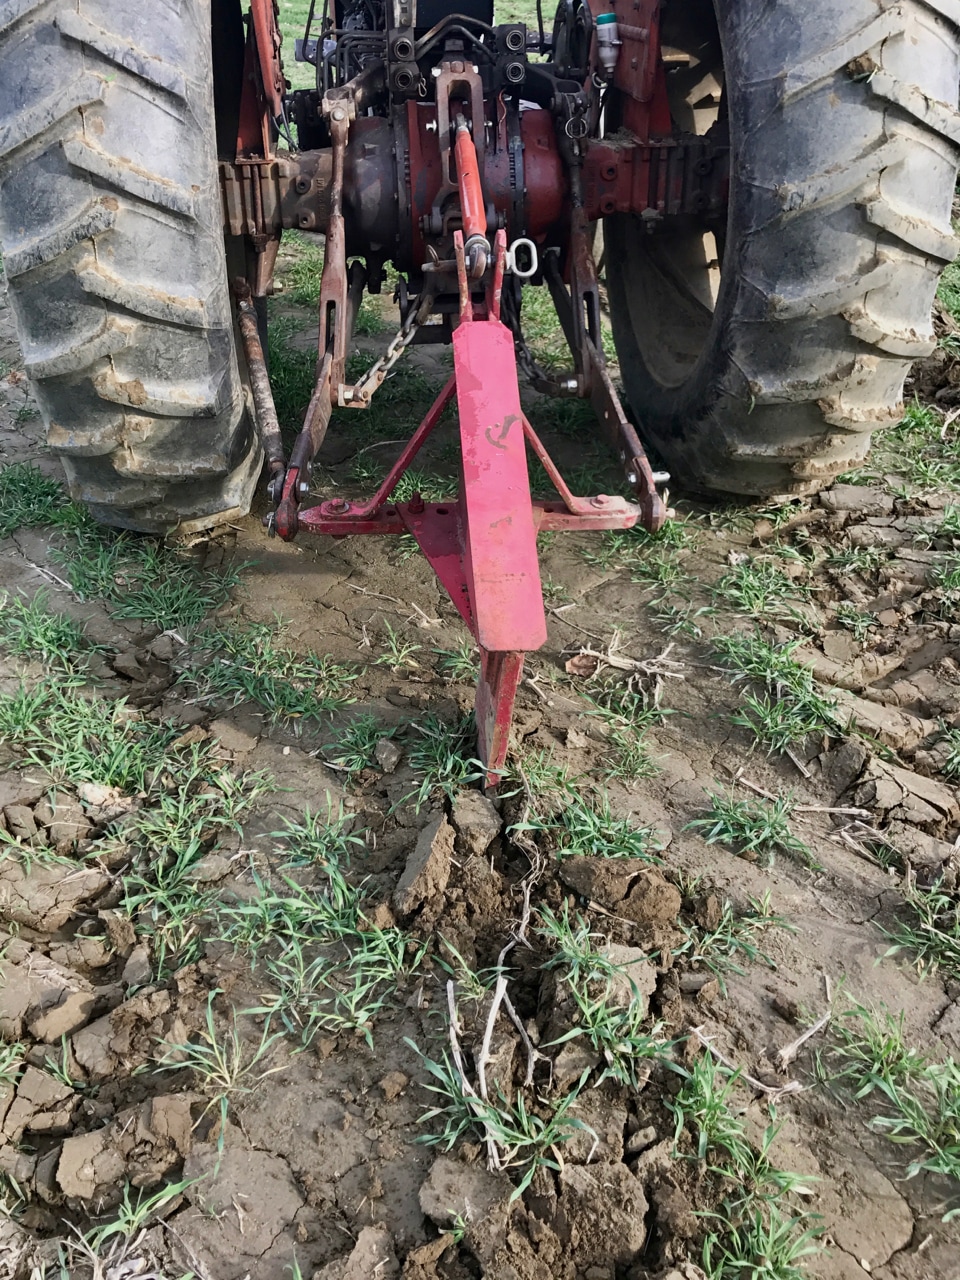
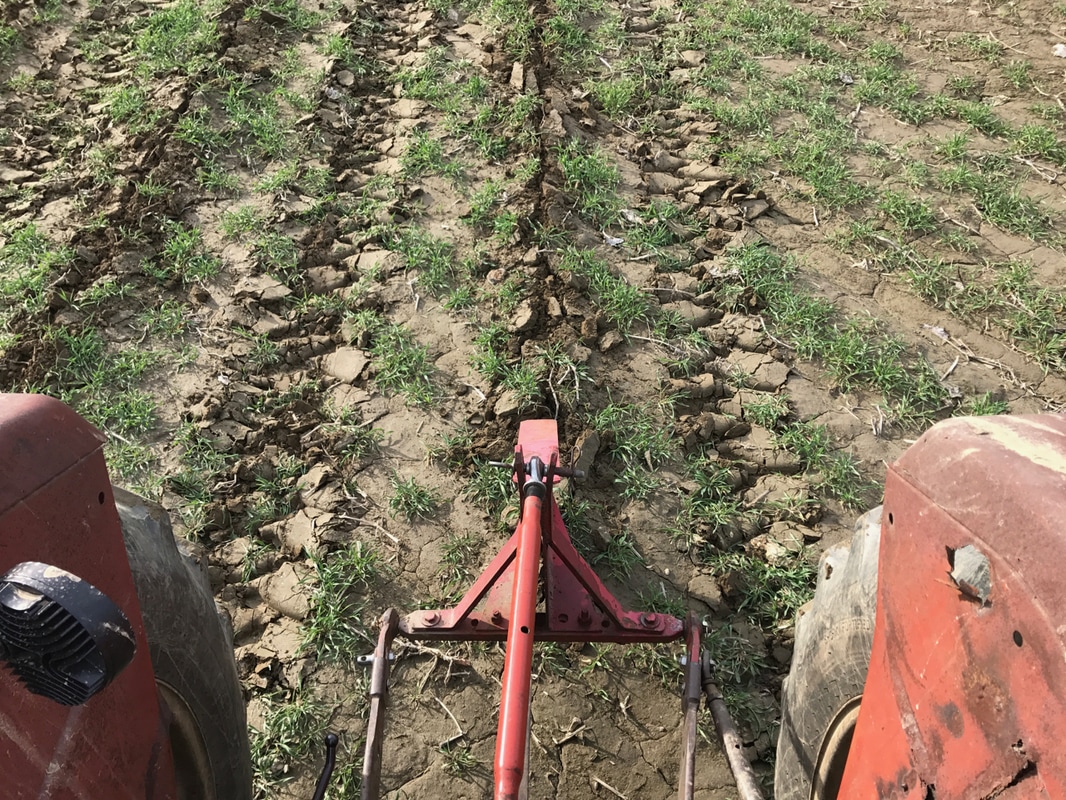
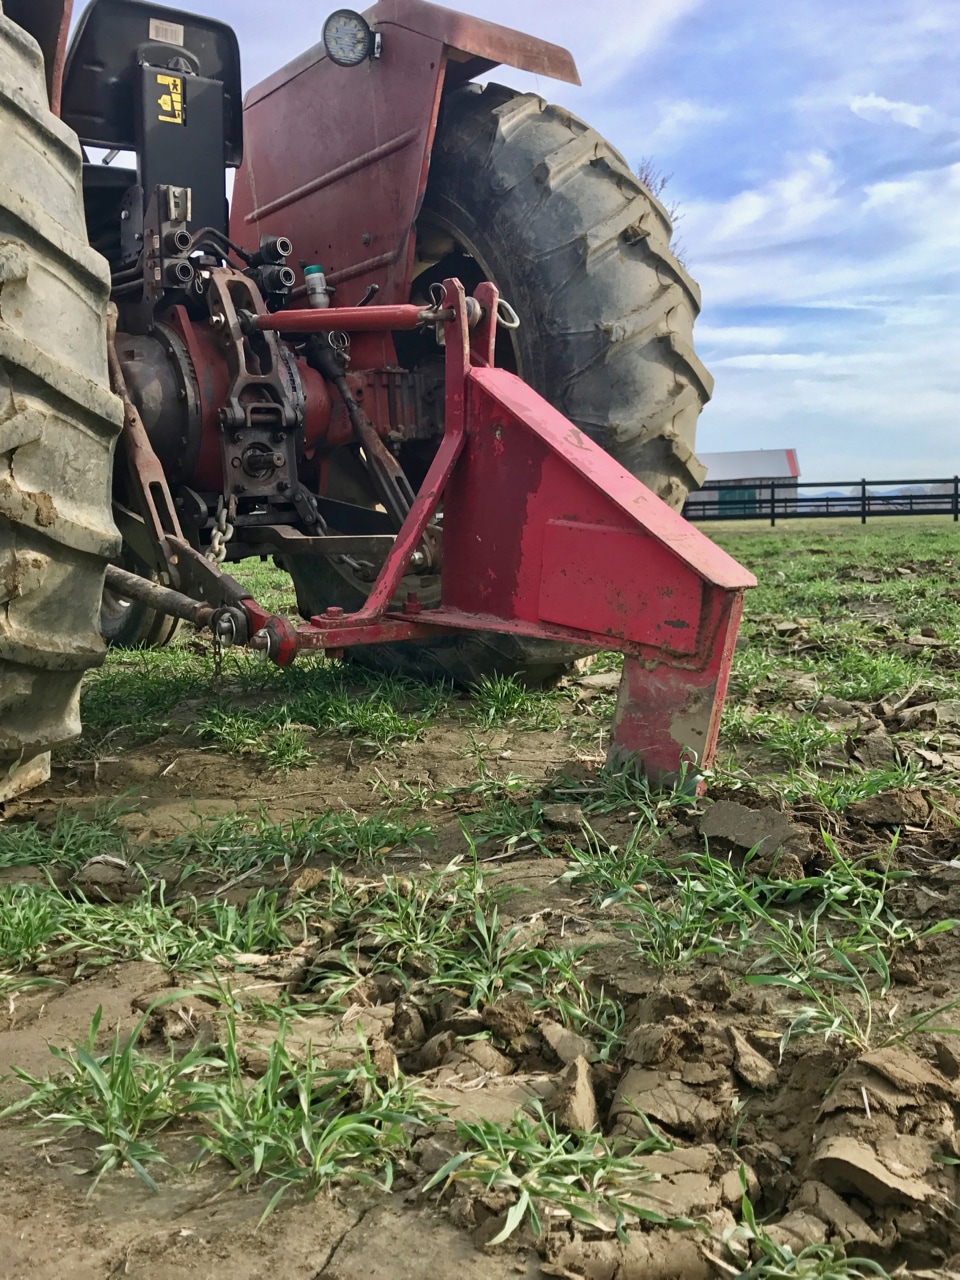
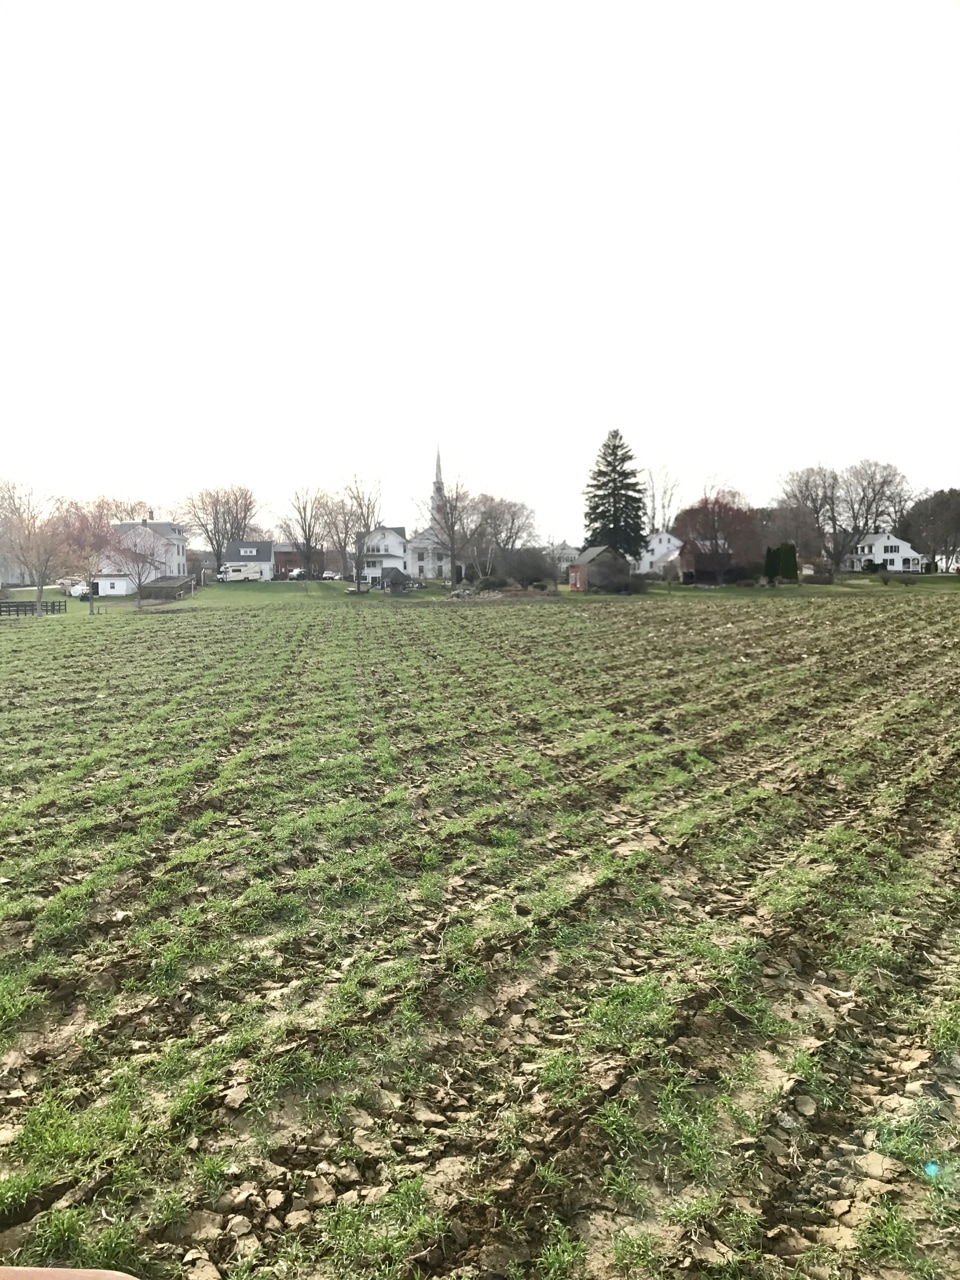
With the warm weather things are beginning to speed up around the farm! Working the land makes me so happy and riding the tractor puts a stupid ol' smile on my face :) Yesterday, I started up the Massey Fergusson and subsoiled the field. What, you don't know what subsoiling is? Well let me explain... "To forget how to dig the earth and tend the soil is to forget ourselves." - Mahatma Gandhi Subsoiling is the act of breaking-up the compacted layers (pans) of the soil to create better drainage and root growth for the plants. With constant plowing or tillage of a field, the soil tends to get hard and compacted resulting in more water run off, erosion, and in the end, poor plant development. By using a subsoiler to breakup these hard packed pans (layers) between the top soil and subsoil layers you are creating a better environment for plants to thrive by loosening the actual layers. A subsoiler is a long shank approximately two feet long that can cut depths up to 20 inches, whereas regular tilling equipment would only go to a max depth of about twelve inches. The subsoiler we use is called a "one shank tooth" and you can see why it's so effective. We make a complete pass every five to six feet, or tractor tire to tire, back and forth, until the field is complete. For more Homegrown News subscribe to my newsletter!
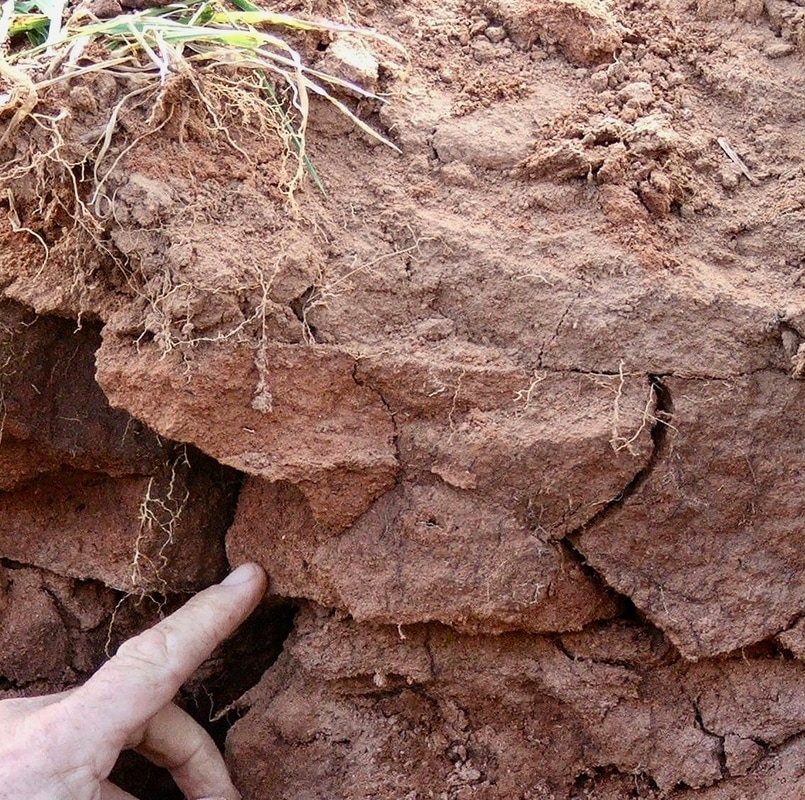
Like or Tweet this article to a friend by clicking the badges below. Thank you for your support. It felt so good to get into the field yesterday! I was getting soil samples ready for testing and it dawned on me that most people don't really know the science behind planting a field. Soil sampling is the first step and this will give you an idea of how it all works. I'll create more posts like this one from time-to-time to give you a better understanding of what we do. Like they say, know your farmer, know your food! “What you see depends on how you view the world. To most people, this is just dirt. To a farmer, it’s potential.” - Doe Zantamata Soil sampling is a vital part of farming and the first field work a farmer must do. Samples are collected to see what essential nutrients are in the field such as nitrogen, phosphorus, and potassium. Along with checking soil pH and organic matter which is essential for plant growth and development. A six to eight inch core of top soil is enough to get an adequate reading. Five to eight more soil cores are taken per acre to get overall analysis from the field we are testing. We walk on a diagonal zig-zag throughout the field gathering samples and once all are collected we mix the cores together. The soil samples should be moist, but more on the dry side, or it will create problems during transport. If the soil is very wet it also could affect the results. The samples are sent to the UMASS Amherst soil lab where they go through the process of testing for different nutrients and organic matter. Simple tests can be done from home to test pH, but a lab has better equipment and the current tech to dive deeper into the samples and give a better analysis. 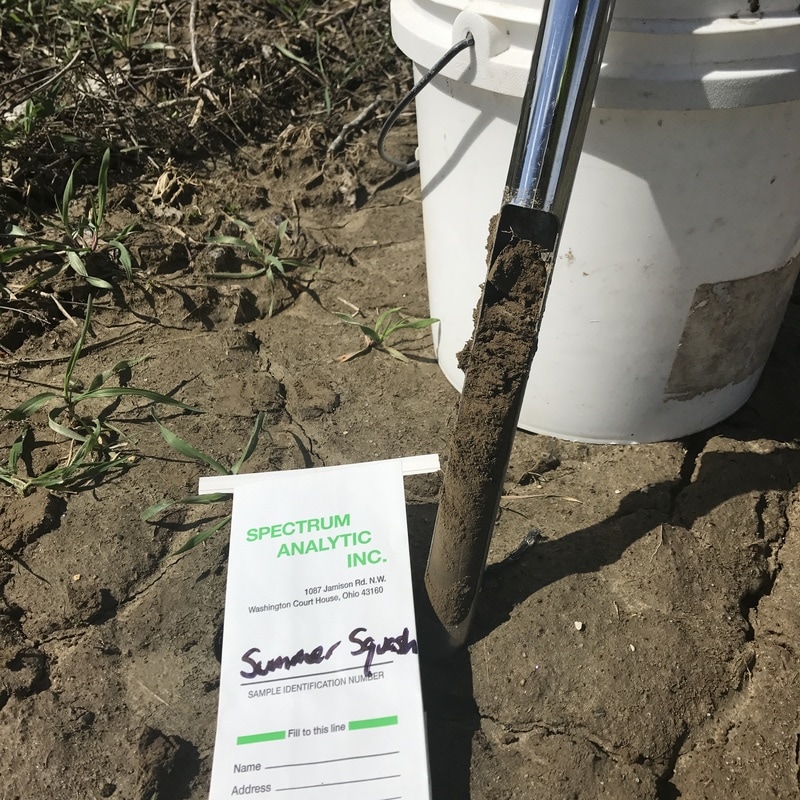 For more Homegrown News subscribe to my newsletter!
Like or Tweet this article to a friend by clicking the badges below. Thank you for your support. |
AboutFollow Bardwell Farm and all of our adventures here! Archives
April 2024
Categories
All
Gift CardsGive the gift of a CSA farm share or farmstand goods with gift certificate from Bardwell Farm! NewsletterSubscribe to Harry's Farmstand Monthly newsletter! |
 RSS Feed
DIRECTIONS |
|

|
©2022 BARDWELL FARM, ALL RIGHTS RESERVED
|